- 29 Feb 2024
- 3 Minutes to read
- Print
- DarkLight
Content Types for Document Templates
- Updated on 29 Feb 2024
- 3 Minutes to read
- Print
- DarkLight
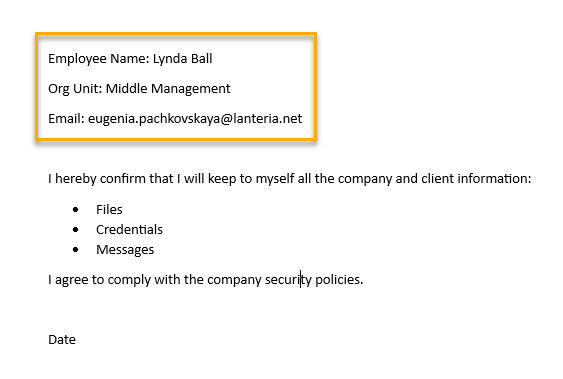
Use content types to create templates for generating employee documents or job contracts. A template can contain automatic fields from the content type that are filled in with the employee data in the generated document. The article describes creating content types for the Employee Documents library. In the same way, they can be created for the Job Contracts library.
Create Content Type
Follow these steps to create a new content type:
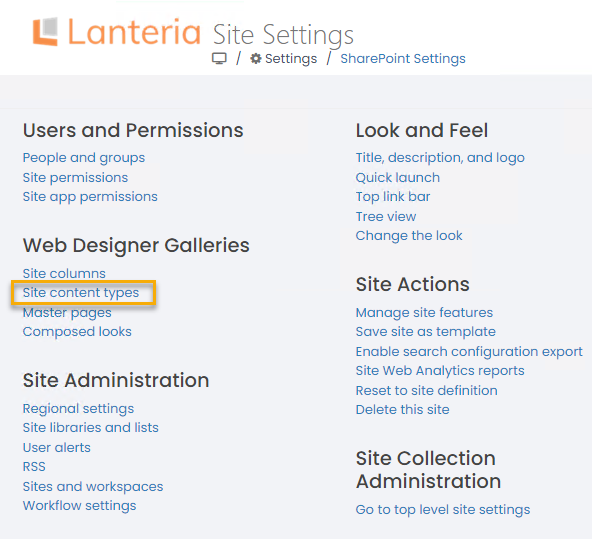
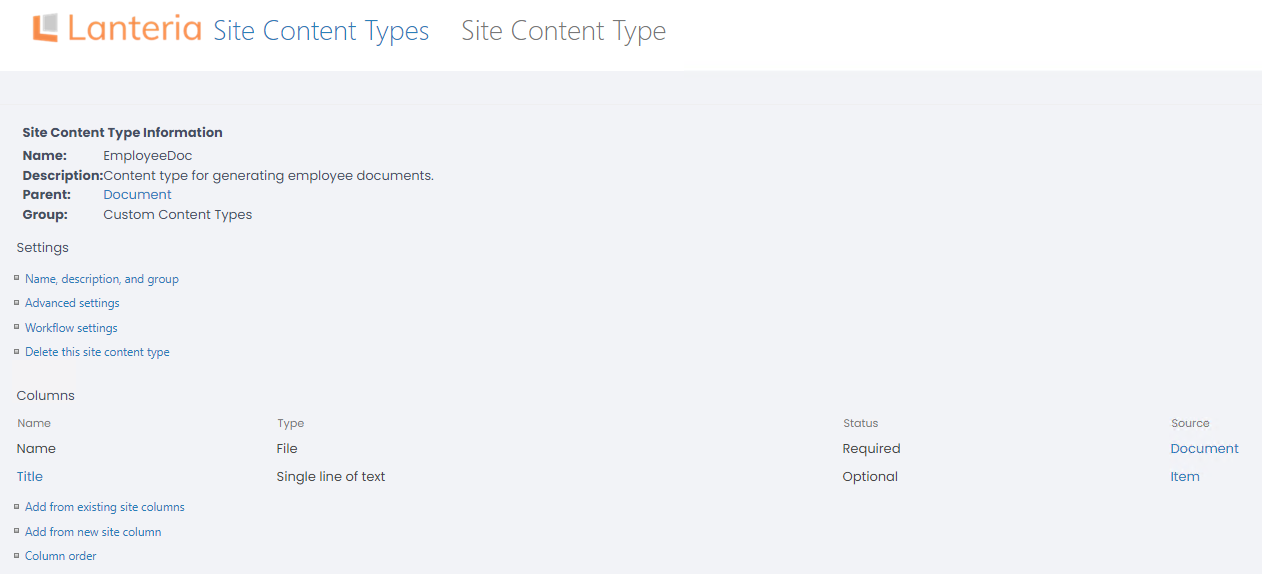
- Under Setting > SharePoint Settings > Web Designer Galleries, click Site content types.
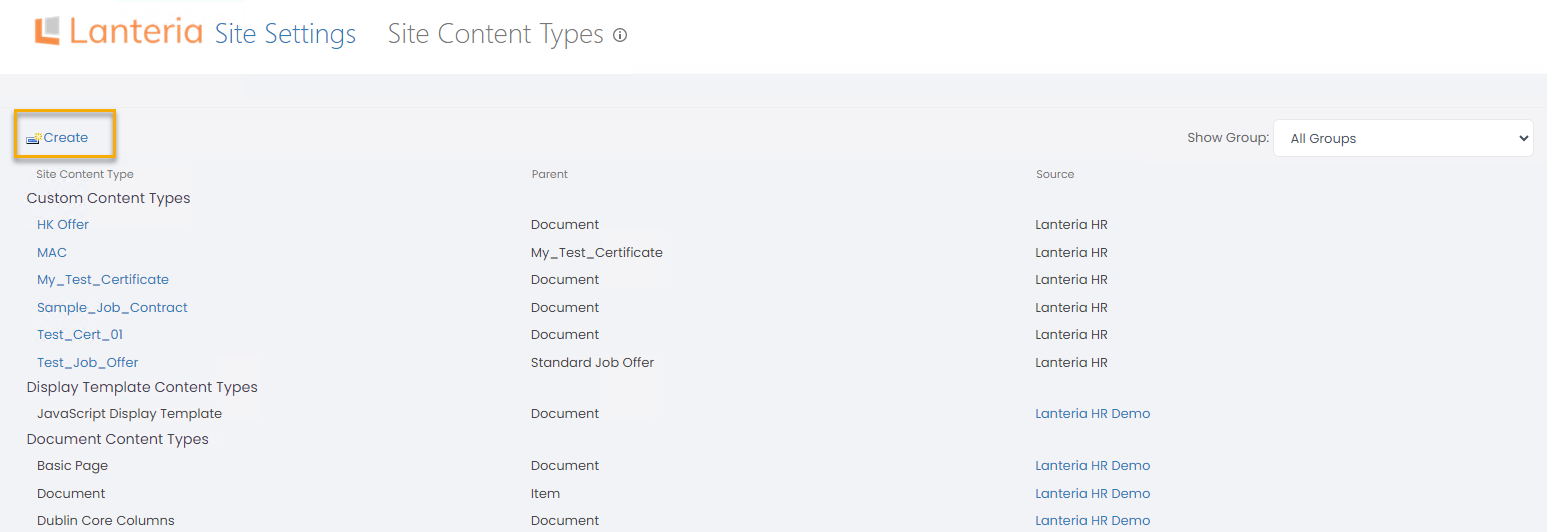
- Next, click Create.
- Provide the content type name and description.
- Select a group from which parent content type will be selected. Then select a parent content type the current type will be based on. The initial set of fields for content type will be taken from the parent type.
- Select a group the content type will belong to (select an existing group or create a new one).
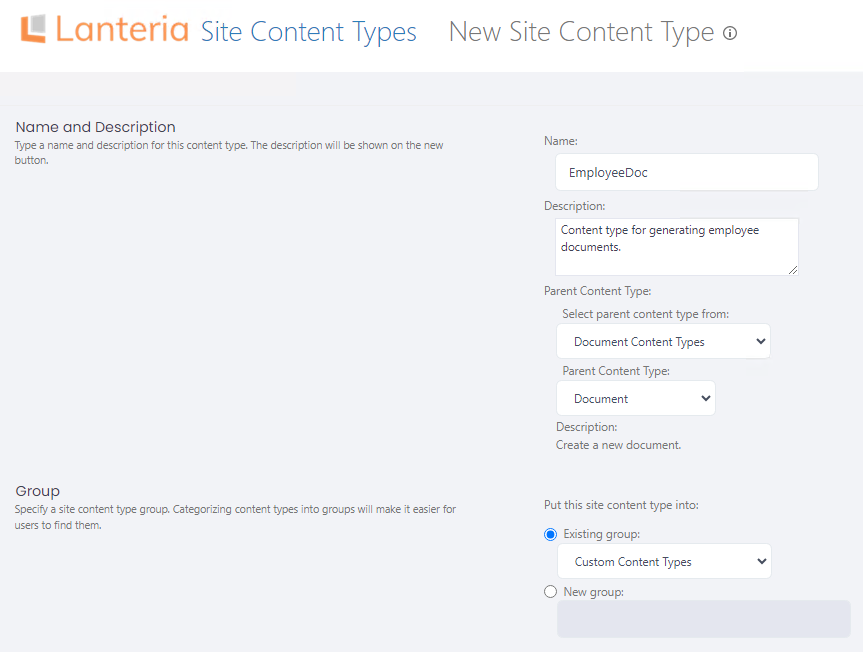
- Click OK to save your content type.
Add Content Type to Doc Library
The next step is to add the newly created content type to a document library it will be used for.
- Go to Settings > Site Lists and Libraries and locate the document library the content type will be added to.
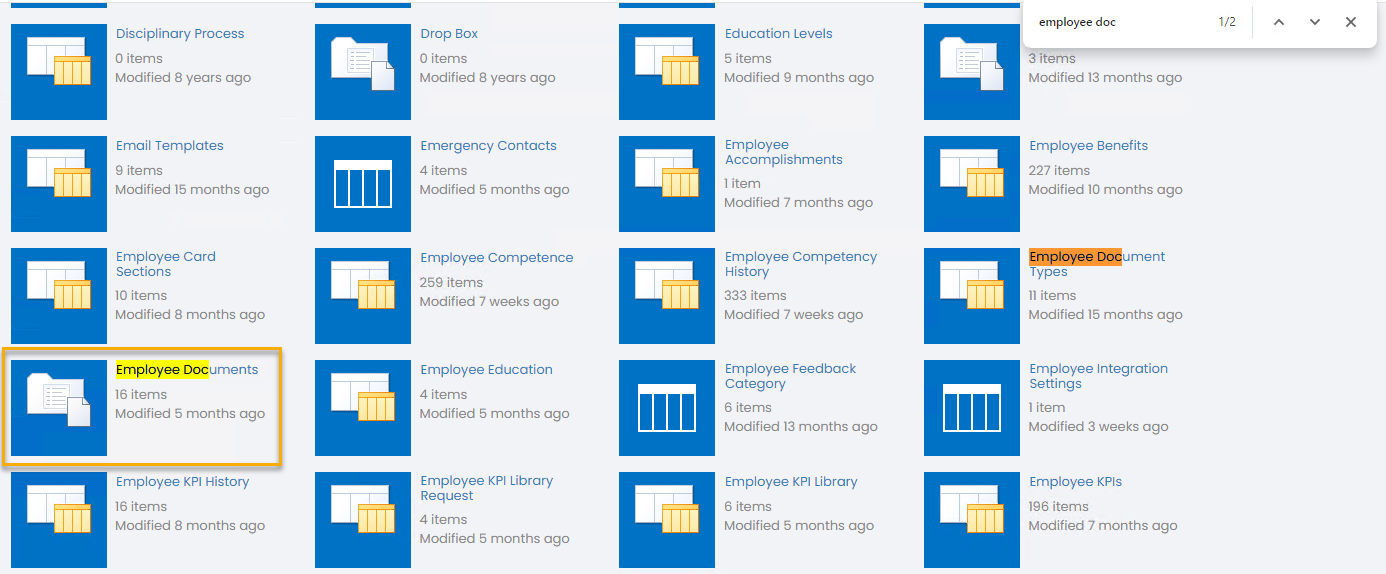
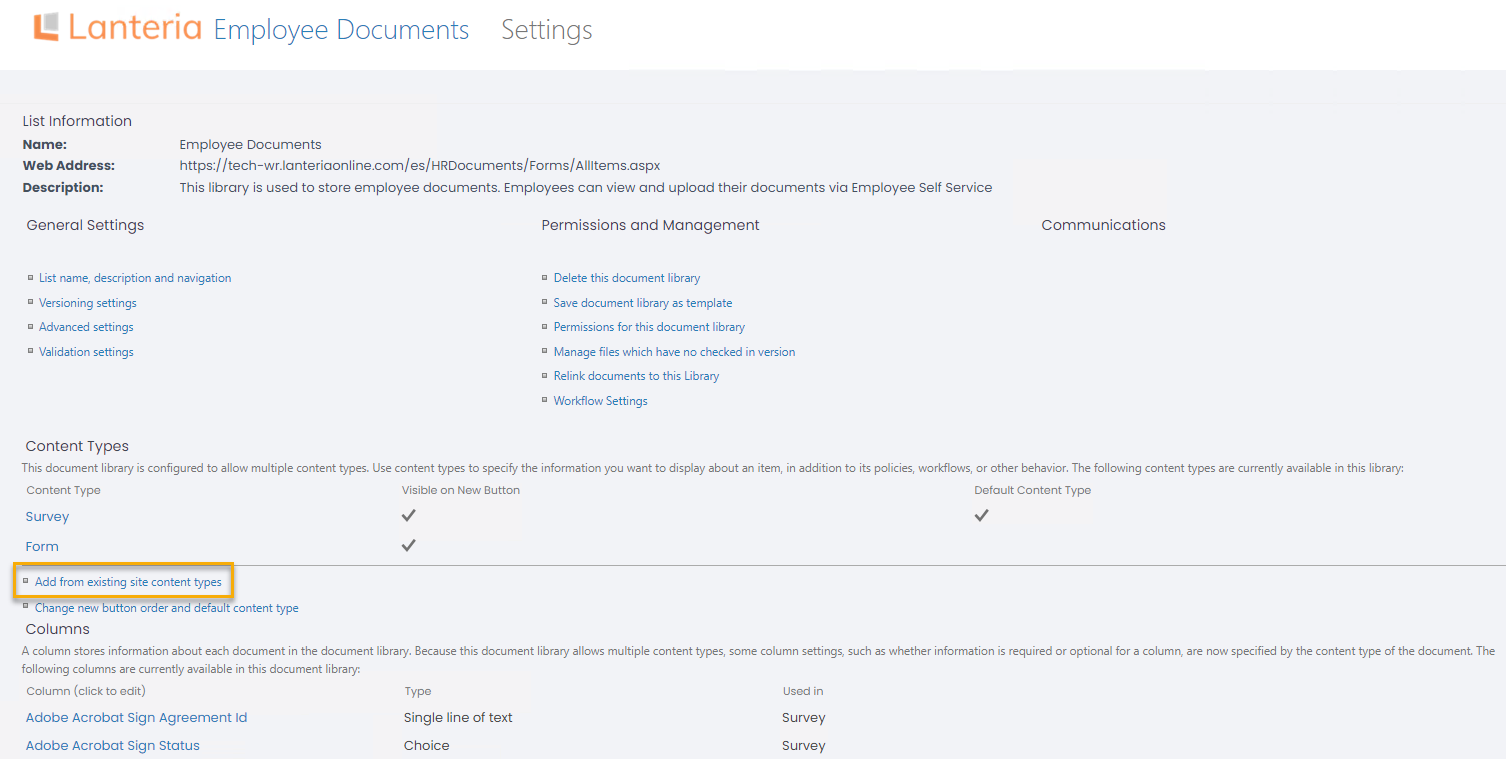
- Click the library name and on the page that opens, click the Library tab and then Library Settings.
- Next, click Add from existing site content types.
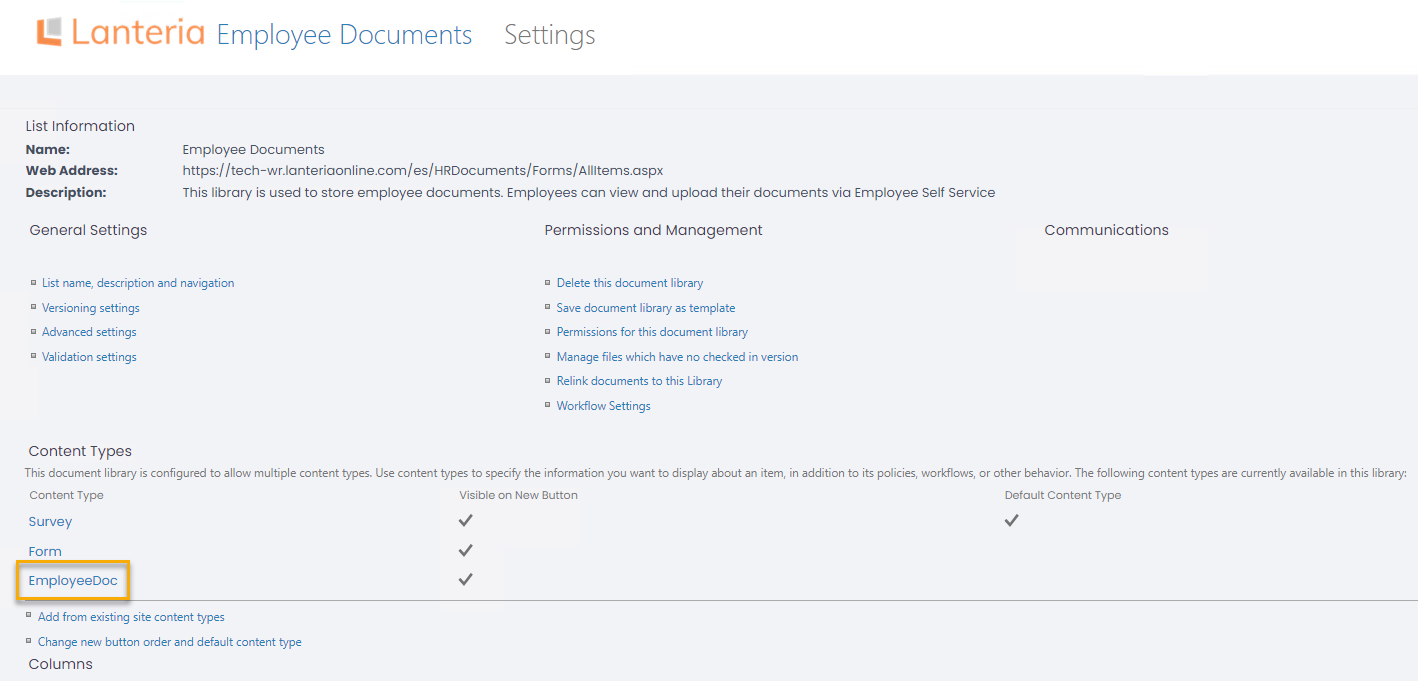
- Select the previously created type and click Add.
.png)
- Click OK. The content type will be added to the library.
Add Fields to Content Type
After the content type has been added to the document library, add fields to it.
- In the document library settings, under Content Types, click the name of the created content type.
.png)
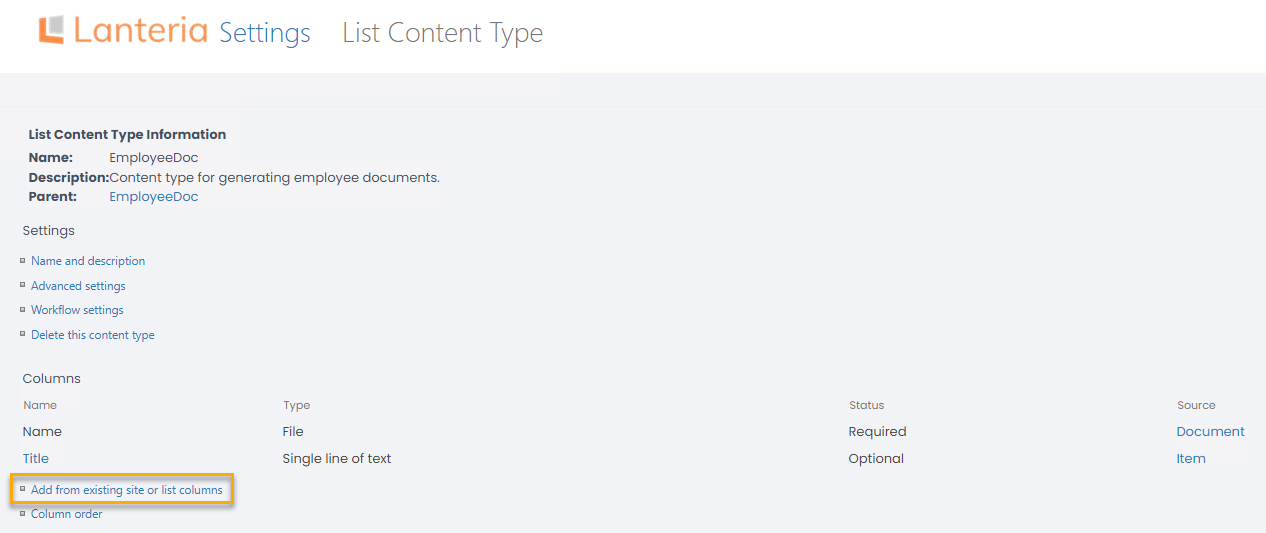
- On the page that opens, click Add from existing site or list columns.
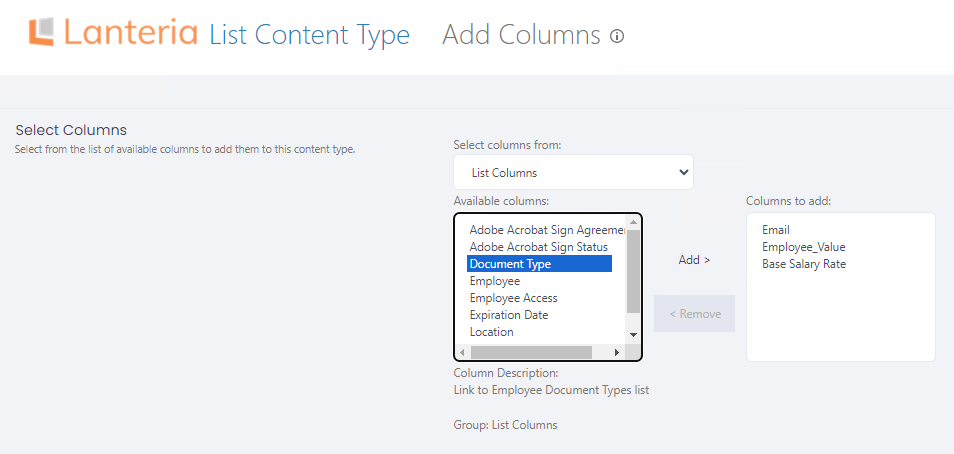
- Select the columns to be used for content type (you'll be able to add them as automatic fields to your document templates) and click Add and then OK.
Add New Columns to Doc Library
If the columns you would like to add are missing in the document library, add them to the library. Any columns from the Employees and Salary Details lists can be added. To add a column, follow these steps:
- First of all, you'll need the internal name of the column you'll be adding, since it is specified when creating a column. To check it, open the Employees (or Salary Details) list from Settings > Site Lists and Libraries and click the name of the column you'll be adding. The address bar will contain its internal name. Copy it.
.png)
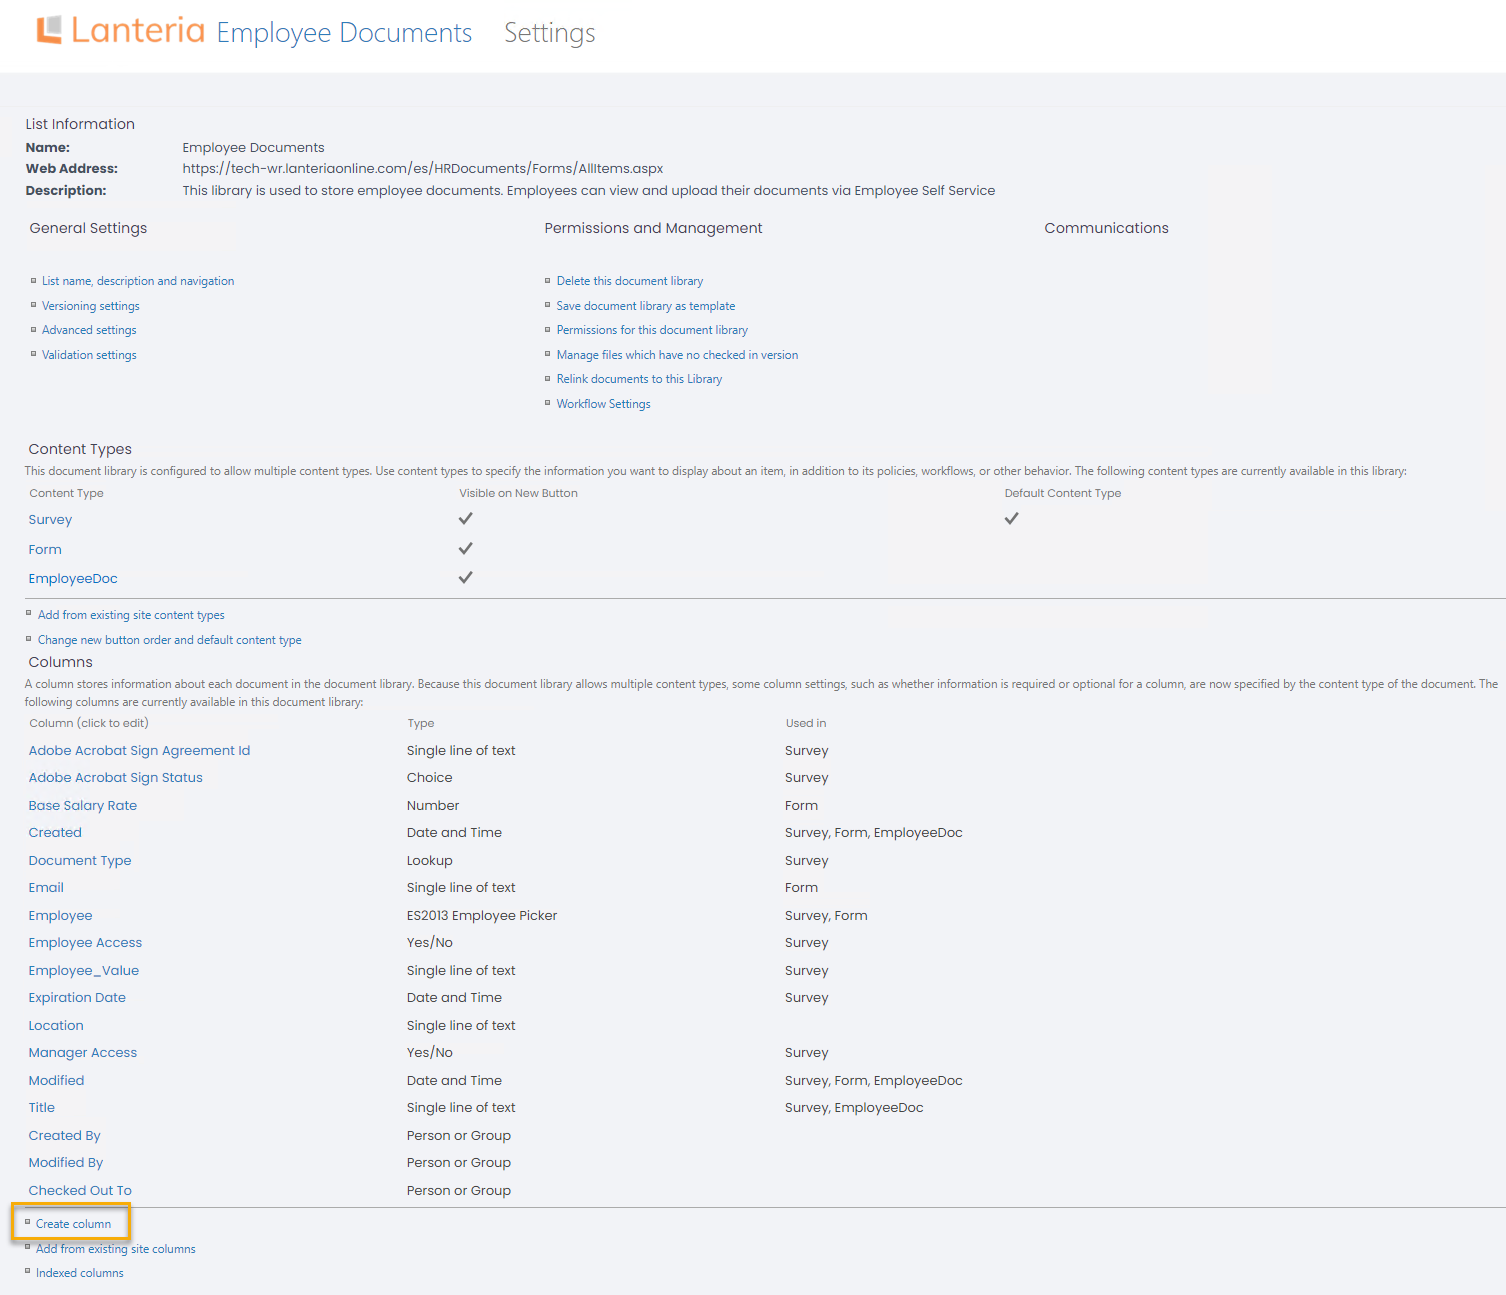
- Return to the Employee Documents library settings (Settings > Site Lists and Libraries > Employee Documents and on the Library tab, click Library Settings). Next, click Create column.
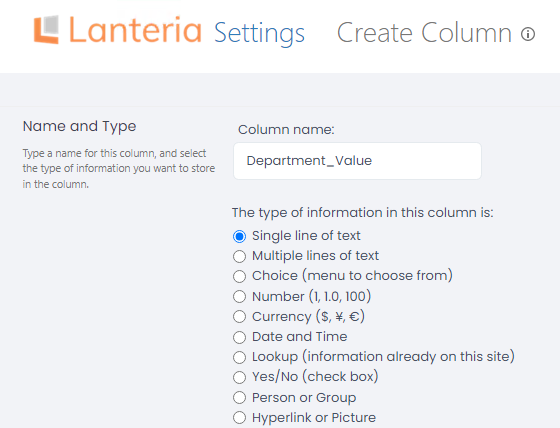
- In the Column name field, paste the the internal name you copied. If you are adding a lookup field and want the field value instead of ID to be displayed on your documents, type _Value after the column name and set the column type to Single line of text. For example, if you add the Employee field and in the Column name, specify Employee, the employee ID will be displayed in the documents where it is used as automatic field. If you add Employee_Value, the employee name will be displayed. For the fields of the other types, just type in the internal name and select the column type as in the original list.
- Click OK. If the Add to all content types check box is selected, the column will be added to your content type automatically.
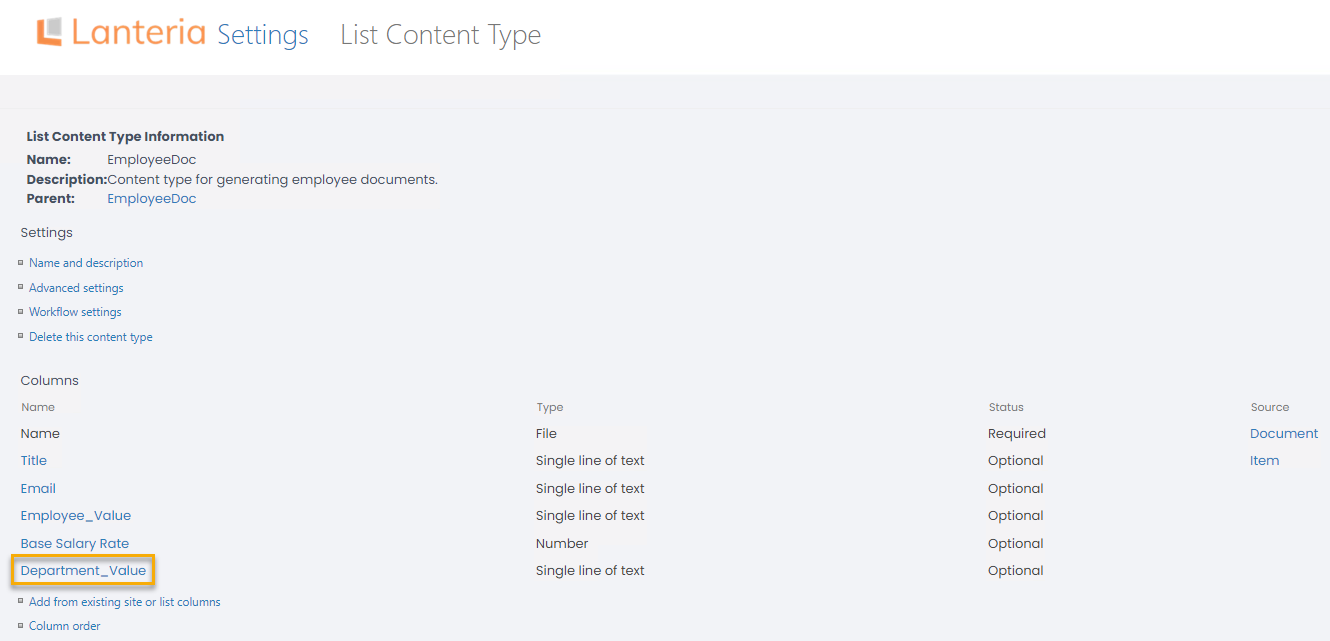
- Make sure that all the required columns have been added to the content type (for Employee Documents, it is Employee, Document Type, Employee Access, Manager Access).
Create Document Template
Now it's time to create a document template and insert the content type columns as automatic fields to be filled in with data in the generated documents.
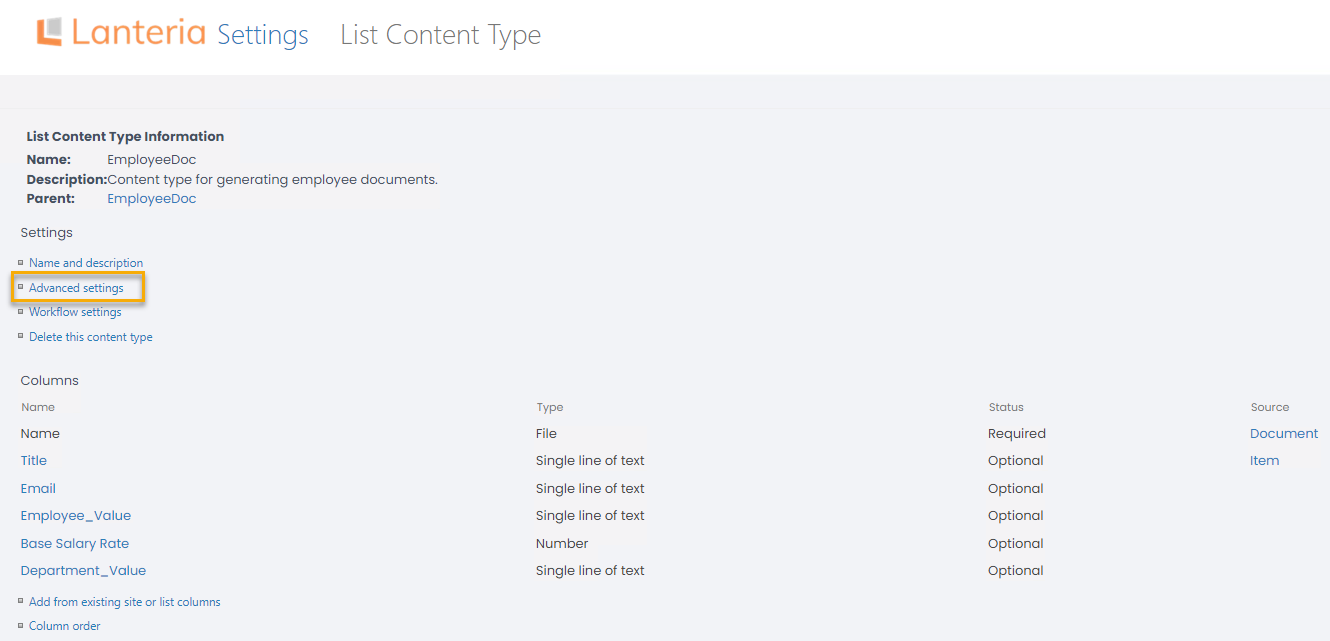
- In the content type settings (under Settings > Site Lists and Libraries select Employee Documents and click Library > Library Settings, under Content Types, click the content type name), click Advanced settings.
- Click Upload a new document template, browse for a file to be used as template and click OK. Please note that template must be in the .docx format. Next, click Edit Template to add automatic fields to the uploaded file.
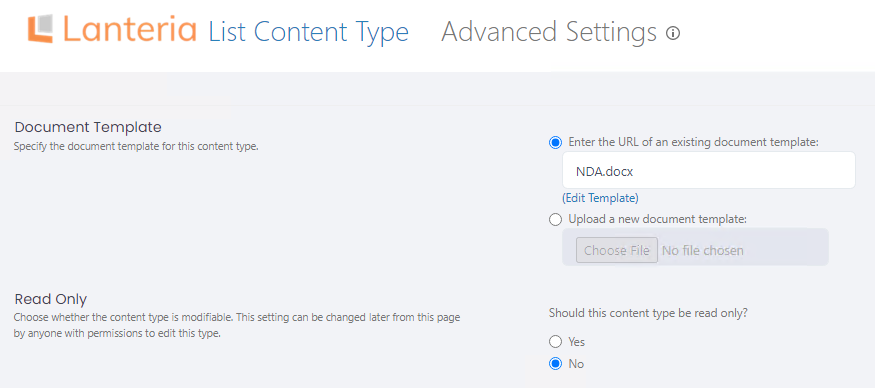
- Next, click Edit Template.
- When the template opens, click Insert > Quick Parts > Document Property and select a field to be inserted.
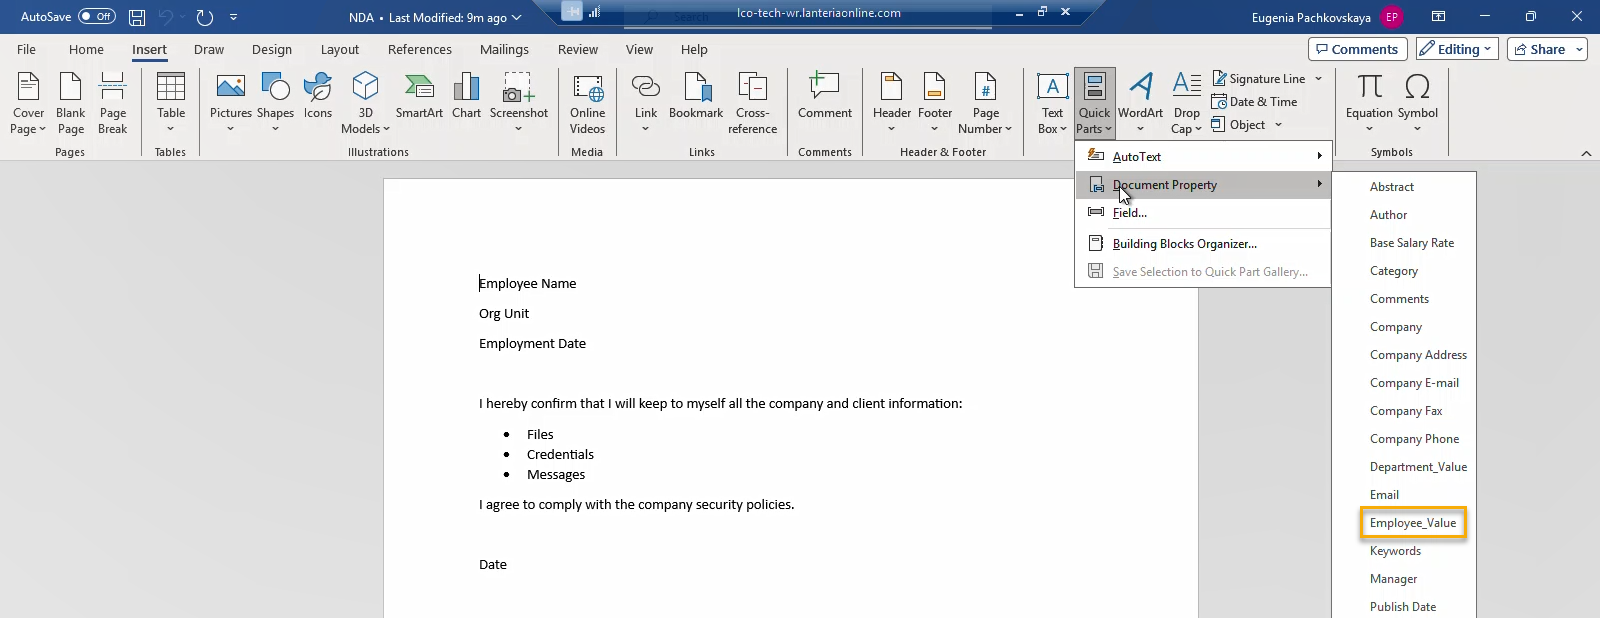
- In the same way, insert all the fields you want to be automatically filled in.
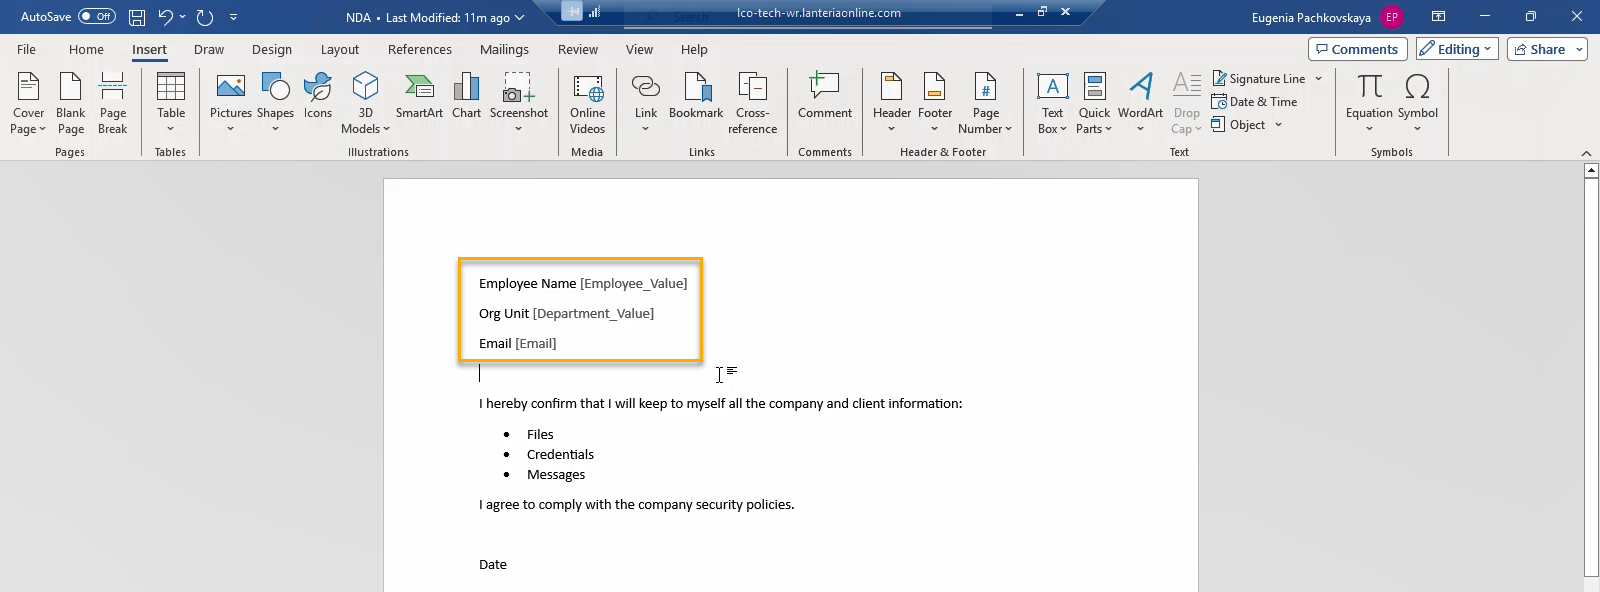
- Save the template.
Generate Document based on Template
When the template is ready, the documents can be generated based on it.
- Open an employee card and click Documents.
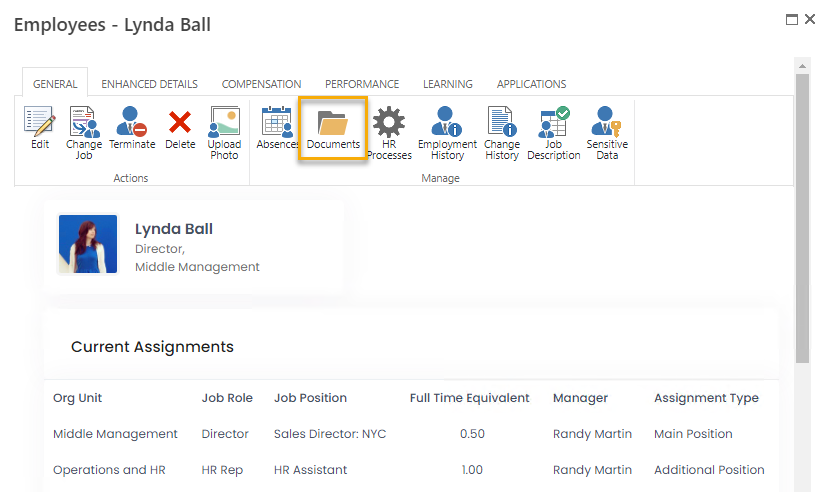
Select the content type you created and click Generate.  The file will be generated.
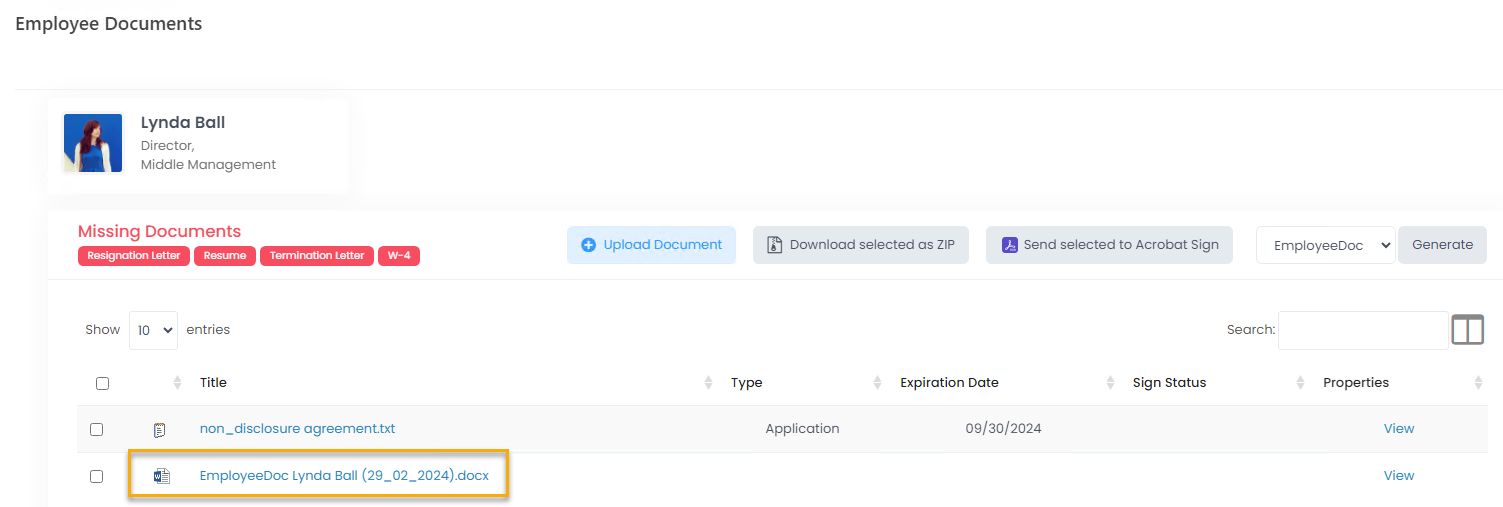
and automatic fields filled in. 