Follow these steps to create a custom report:
- Go to Reports > Report Center.
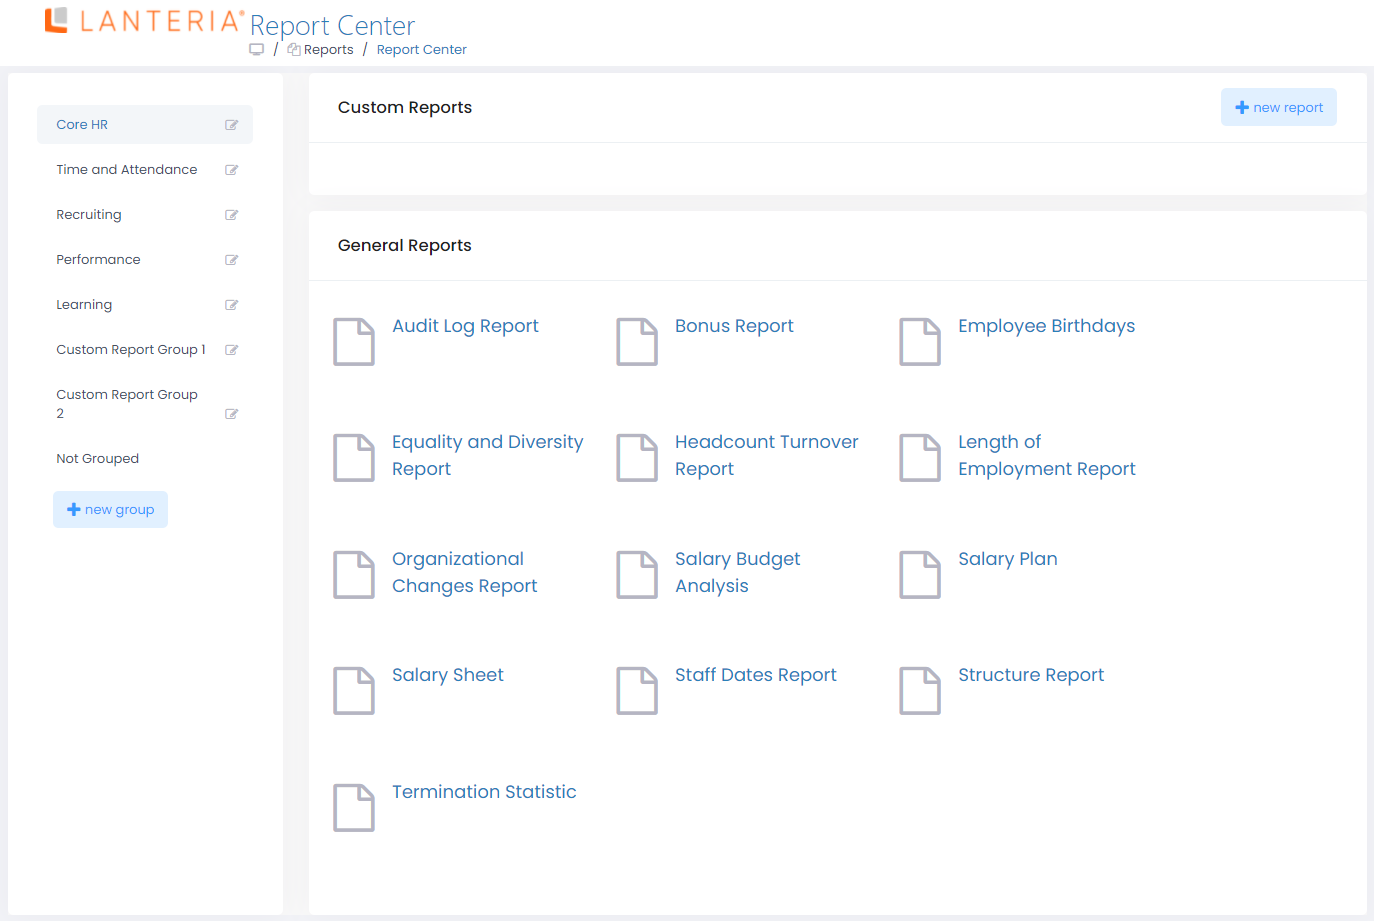
- Click the new report button in the Custom Reports, section. The Report Generator Wizard will open.
 You can navigate between tabs by using Back and Next buttons at the bottom or by clicking the tab name at the top. Click the Save & Exit button at any moment to save your progress and return to the Report Center. The Description tab serves to specify general report details.
 - Enter the report title into the Title field.
- Use the Description field to specify the report title and description.
- In the Report Group field, select a predefined or custom report group the report will be added to. By default, the report group from which you are creating the report is selected. You can add the report to more than one group. If you do not select any report group, the report will be added to the Not Grouped group.NoteWhen you choose a report group, be aware that availability of report groups depends on the employee role.
- In the Report Order field, specify the order number for the current report in relation to other reports of the same module. For the reports to be displayed according to the order number, all the reports within the module must have the Report Order field filled in. Otherwise, the reports will be displayed in the alphabetic order.
- Select the Get All Records check box to display all the records from both parent and child lists even if the parent list value is empty. For example, if a report consists of the Emergency Contacts list (a parent list) and the Employees list (a child list that is shown as Employees by [Emergency Contacts.[Employee Name] after the Emergency Contacts list is selected), the report will show all the employees regardless of whether an employee has an emergency contact or not.
- Select the user roles the report will be available to by selecting the corresponding check boxes in the Roles field.
- Go to the Lists & Fields tab to select lists with the source data.
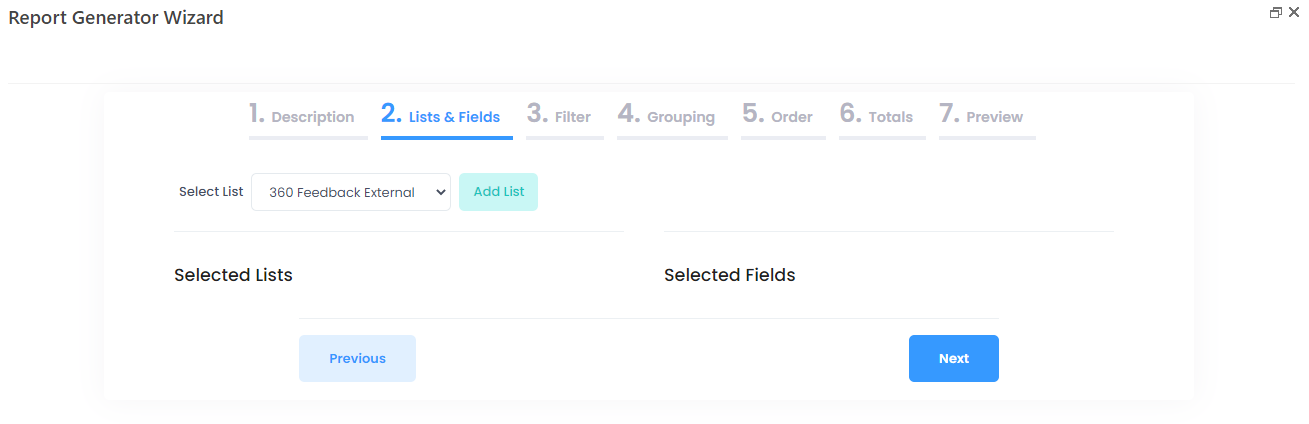
- In the Select List field, select a list with the fields necessary to create the report, and then click the the Add List button.
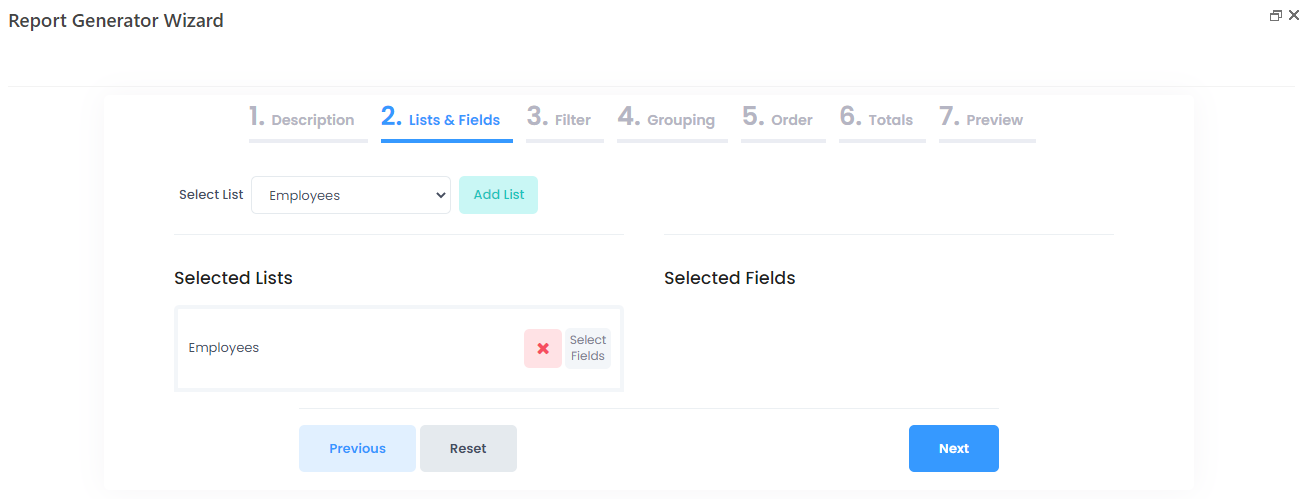 After you select the first list, only the lists linked to it by lookups are available for further selection.
- Click the Select Fields button next to each of an added list name to choose the fields that will be included in the report.
 Click Save after the fields are selected.
 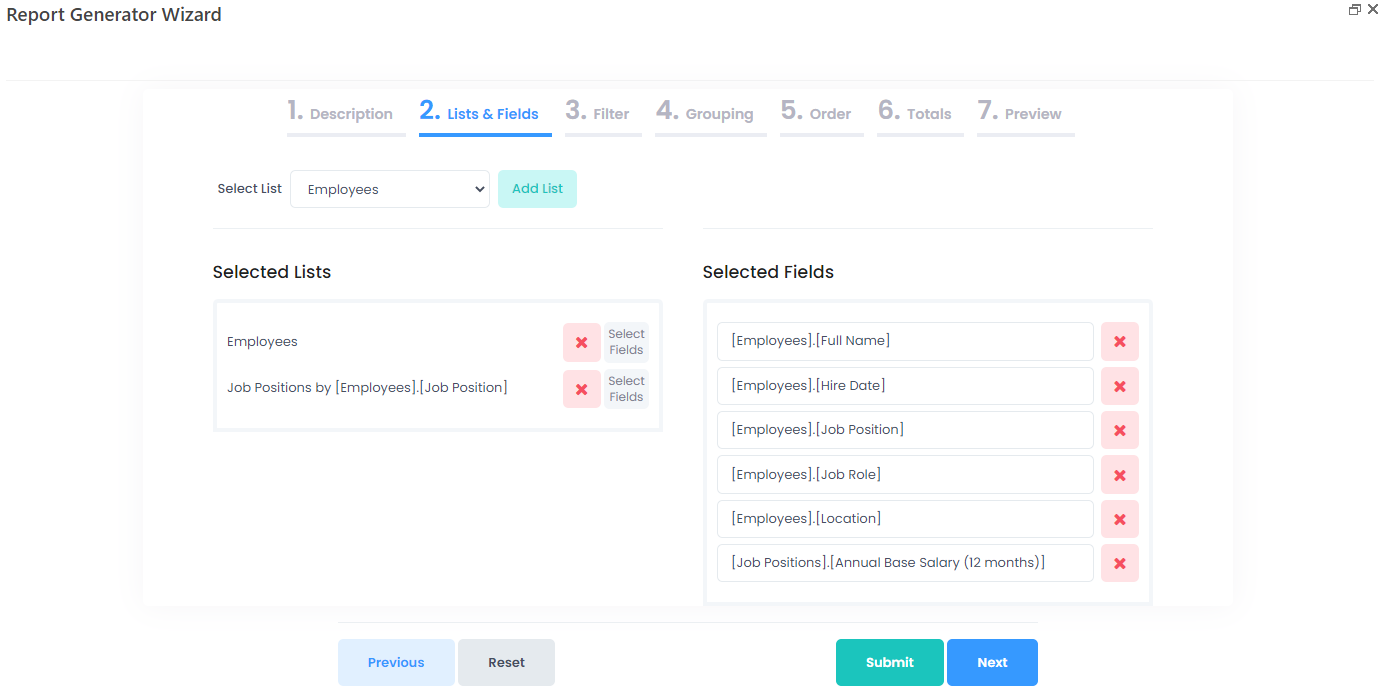 The names of the selected fields consist of the list name and field name.
Use the delete icon next to a field name to remove the field, if necessary.
 - To include filtering in your report, go to the Filter tab. Filtering can be done by the fields of the following types: date, number, lookup, choice.
 Click the Add Filter button next to the necessary field name. On the form that appears, select User defined values to allow the user to select filter values while running the report or Predefined values to filter the data at once. Set any default filter values that will be populated automatically, if necessary. The appearance of the Default value field will vary depending on the field data type.
 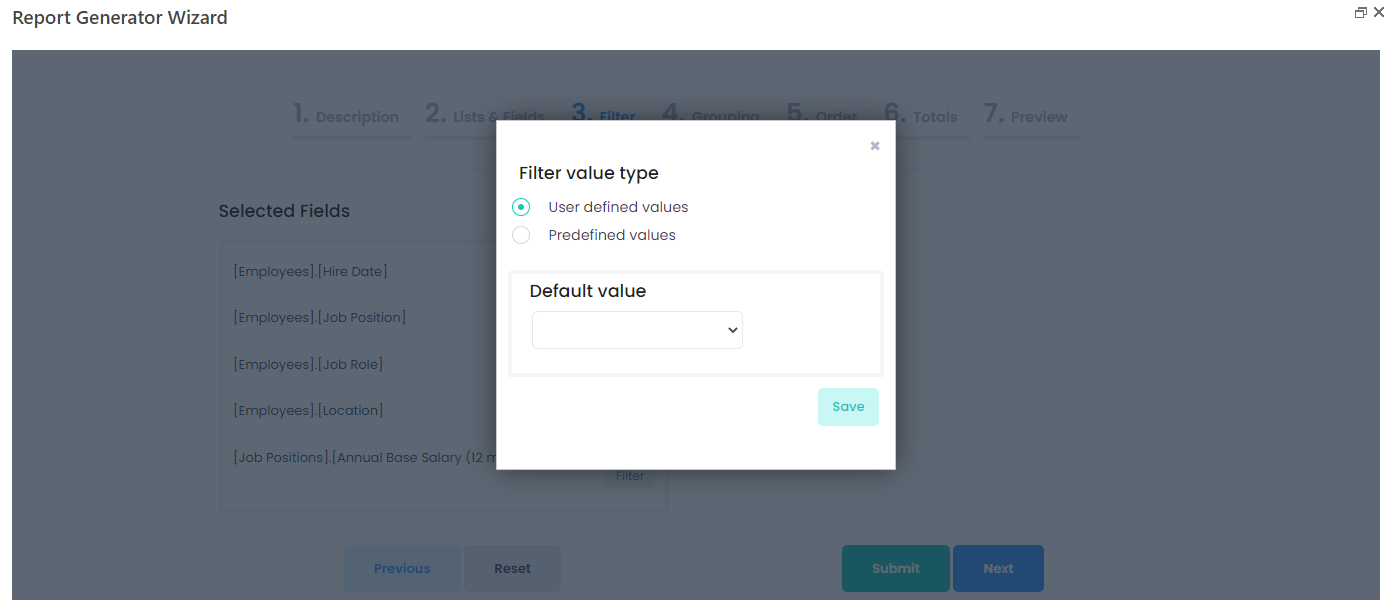 Click Save to save the filter.
 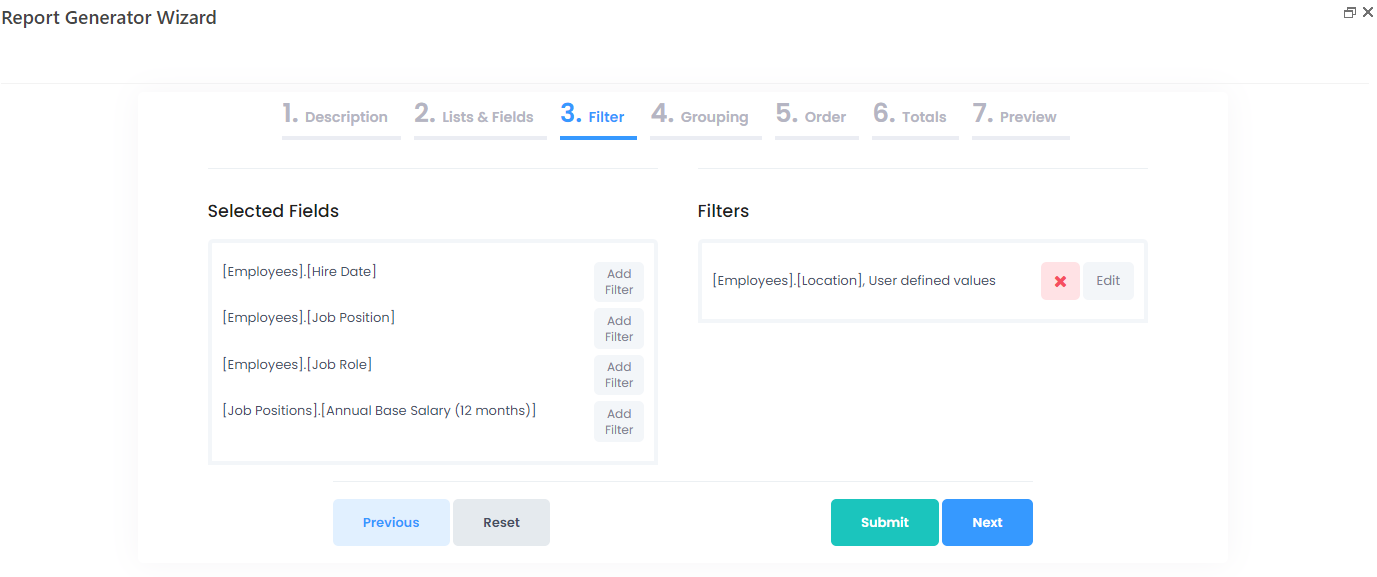 Use the delete icon
  next to a filter name to delete the filter or the Edit button to edit it.
Additional Employee Filter
If the list(s) you selected on the Lists and Fields tab have lookup fields to the Employees list, an additional filter becomes available at the to of the Filter tab to filter data by employee using a lookup field to the Employees list. You don't have to select such lookup fields during the previous step on the Lists and Fields tab; if they are available in the chosen list(s), they all will be automatically available for selection in the additional filter at the top. You can use this additional filter instead or in addition to the fields you select as filters.
- Go to the Grouping tab to group the information in the report.
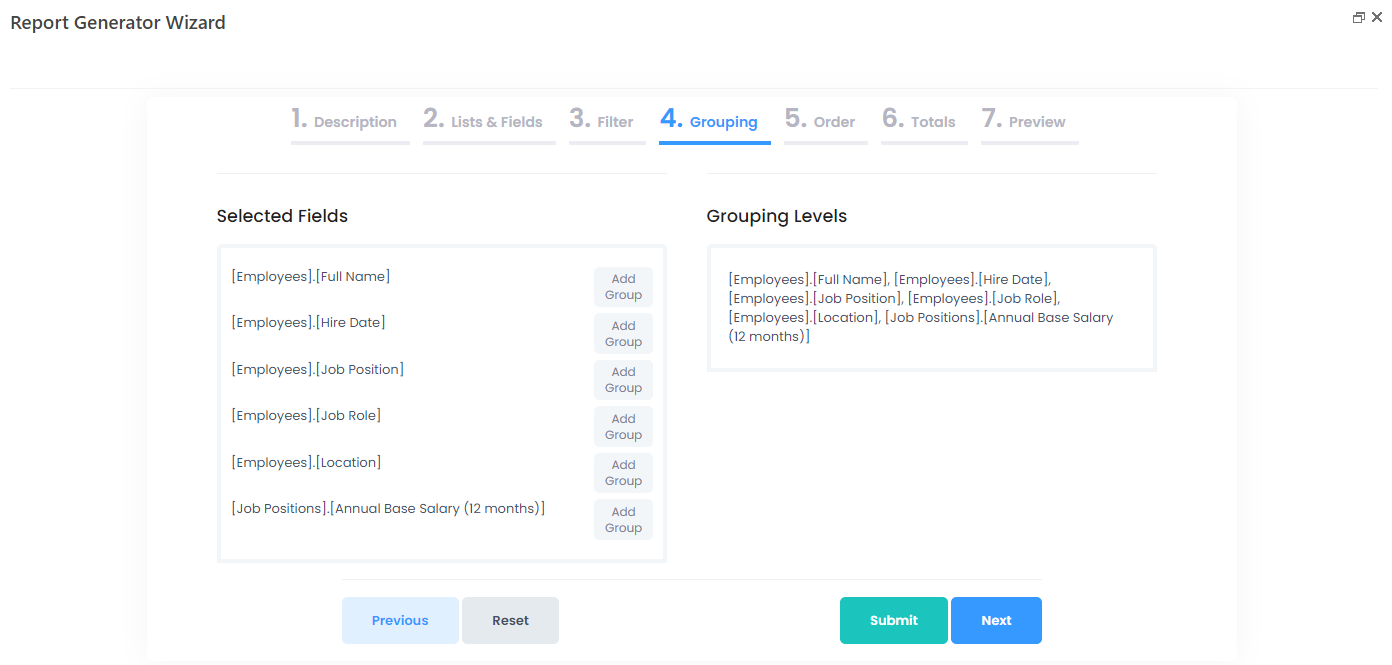
- Click the Add Group button next to the fields by which the grouping will be done. You can add a maximum of two grouping levels.
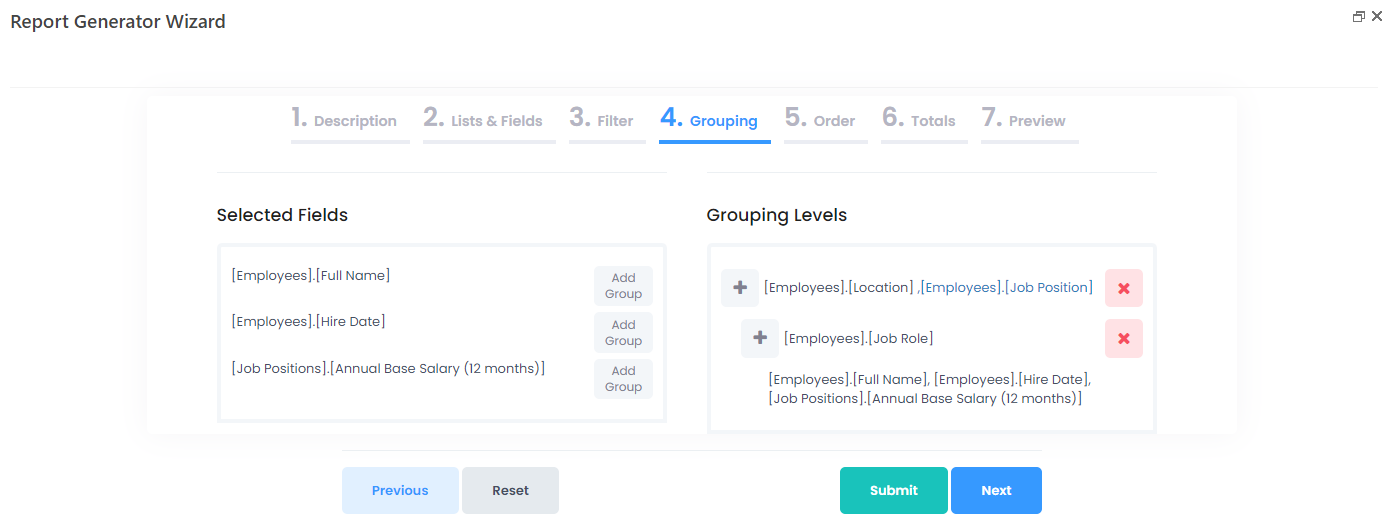 Click the add icon
 if additional fields are to be displayed next to the basic grouping field. For example, Location, Country.
Click the delete icon to delete the grouping.
 - Go to the Order tab to rearrange the order in which fields are displayed in the report using drag-and-drop. Only the fields that are not included in the grouping can be re-ordered.

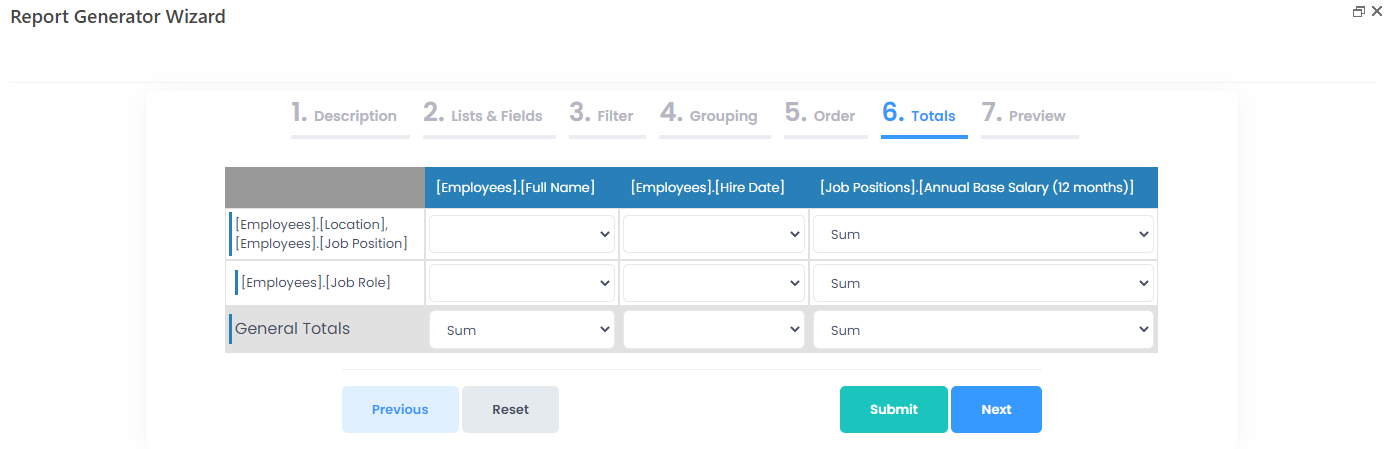
- Go to the Totals tab to set up how the resulting values are to be calculated. Totals can be calculated by group and/or as a general total. The functions available for totals calculation are:
- Avg – the average amount for the records in this group or column will be calculated
- Count – the number of records will be calculated
- Max – the maximum amount will be displayed
- Min - the maximum amount will be displayed
- Sum – the sum of all the record amounts will be calculated
- Go to the Preview tab to preview the report.
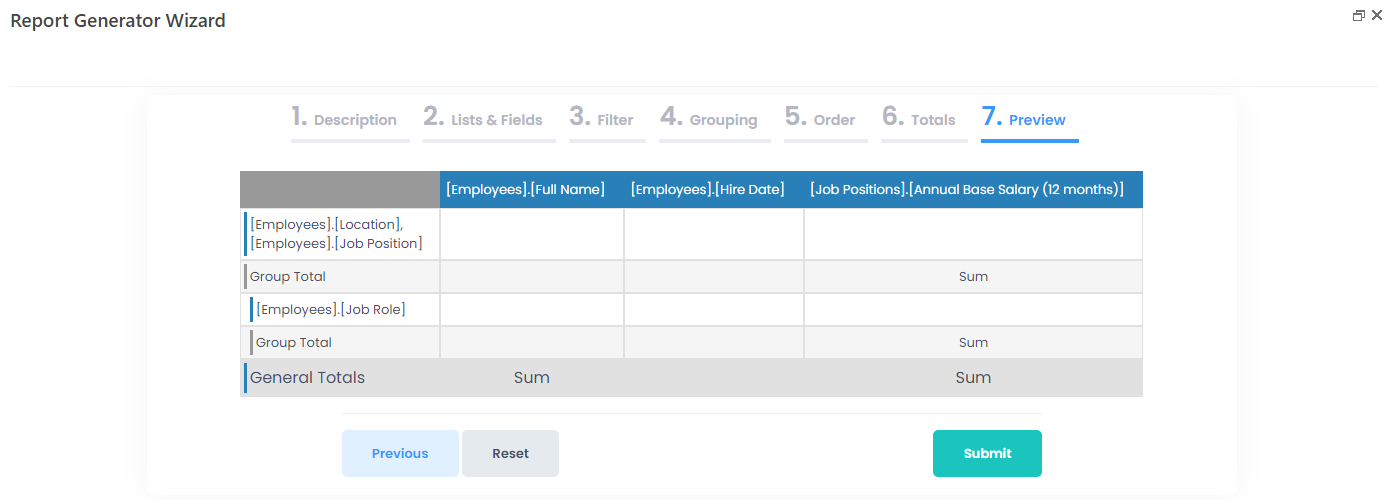
- Click Submit to save the report and go back to the Report Center. You can submit the report at any step after you fill in the mandatory information.
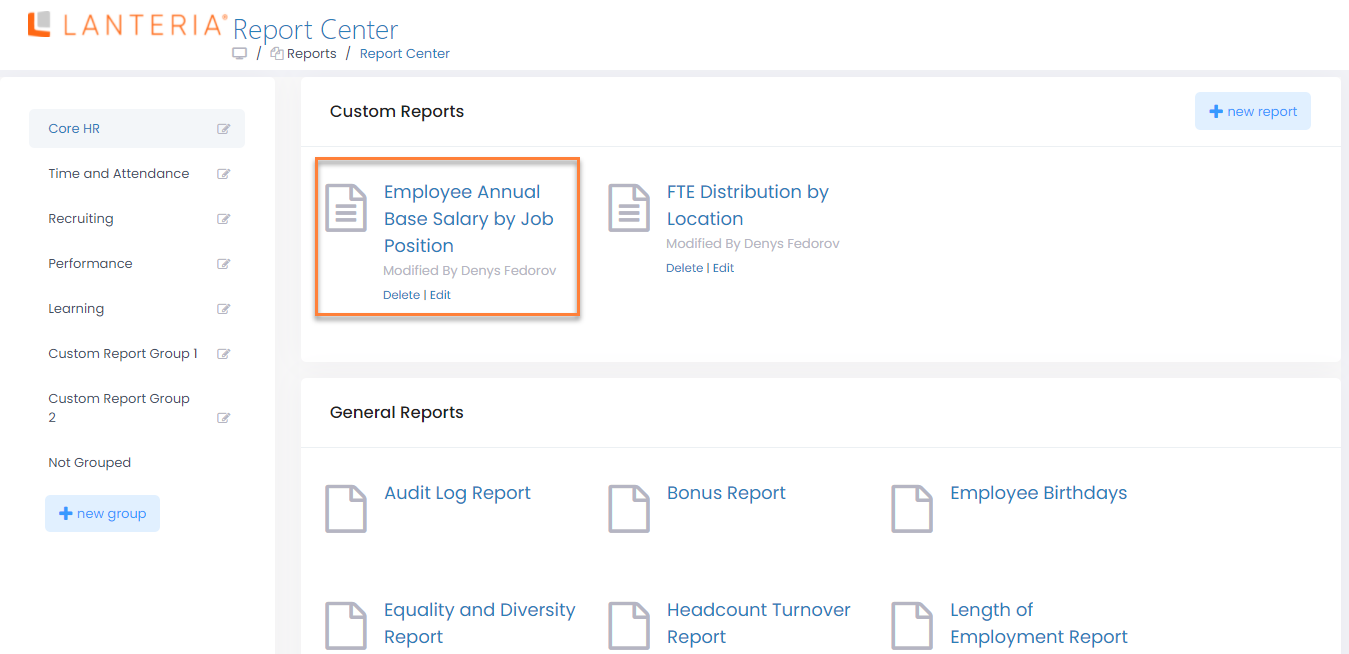
If you added the report to a custom report group, the report will be available in that custom report group in addition to the specified module group. For such a report, under the report name, you will be able to see the name of the module group it was added to (if you view it from a custom group) or the name of the custom group (if you view it from the module group).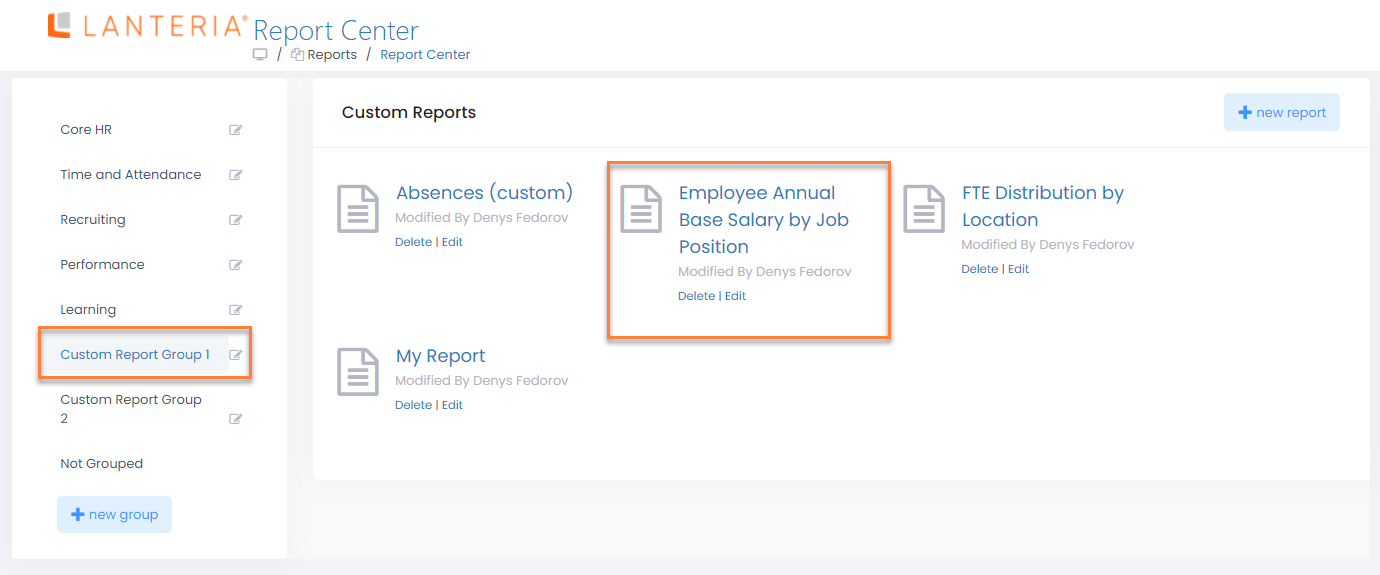
- To continue editing the report, click Edit. To remove the report, click Delete.
- To run the report, click its name or the icon next to it.
You can see a step-by-step example of creating an actual report in the Report Example section.