Follow these steps to restore Candidate Self-Service from SQL Server or Azure backup.
Note
Backing up Candidate Self-Service must be set up. The backup is created in the SQL Backup folder each night and then this folder is backed up in Azure with 14 days retention period. If you are restoring the overnight backup from the Backup folder, skip steps related to Azure backup, just browse for the Backup folder and unzip the last night archive.
- Connect to SQL Server VM via RDP.
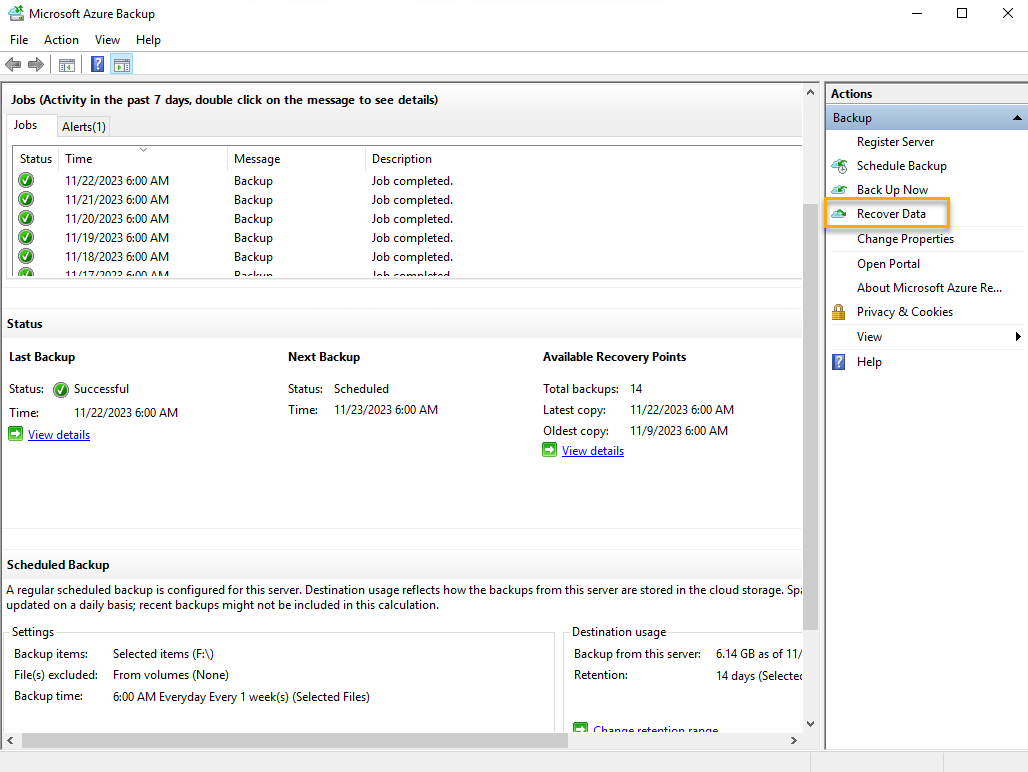
- Run Microsoft Azure Backup agent.
- Click Restore Data on the right panel.
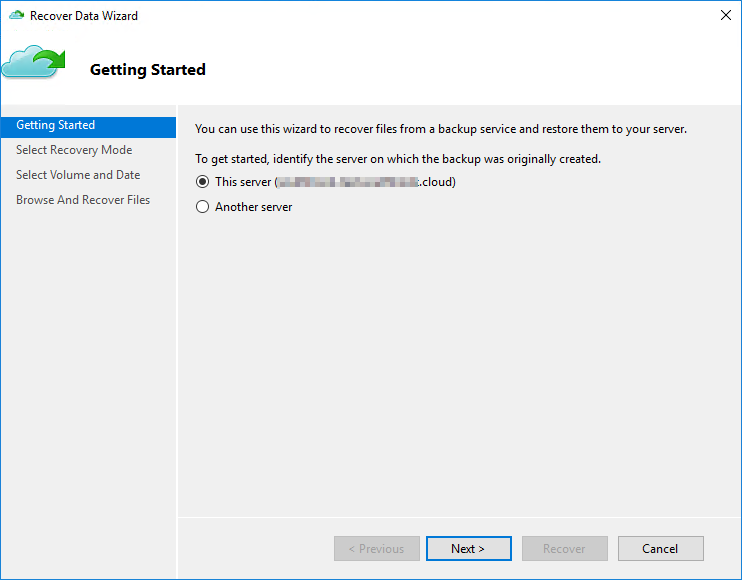
- Run the Recover Data Wizard. Select This server.
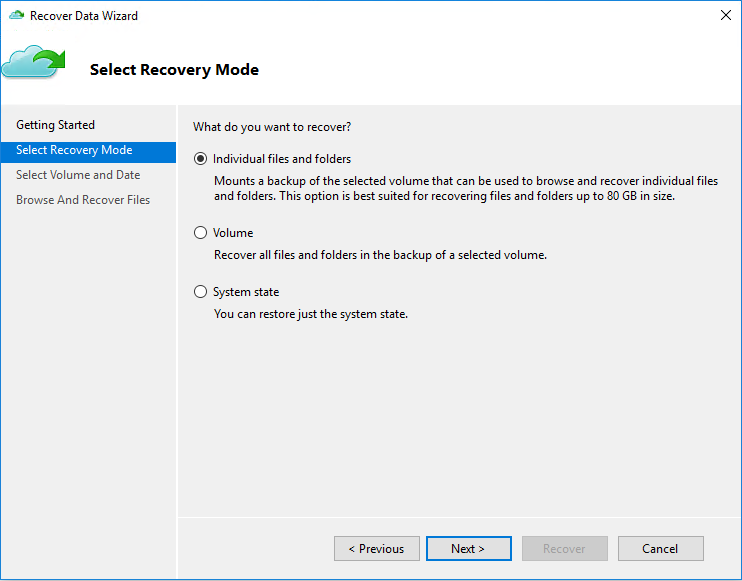
- Click Select Recovery Mode and then Individual files and folders.
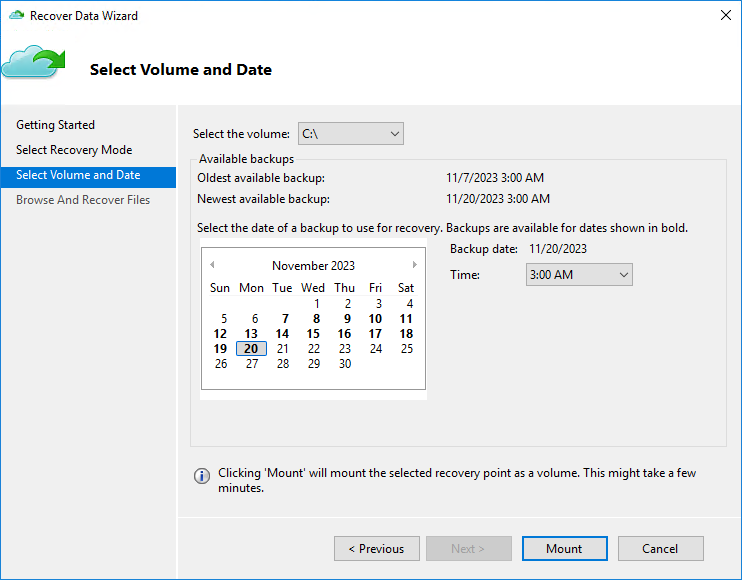
- Next, select volume the backup will be taken from, the date and time of backup and click Mount.
- Click Browse.
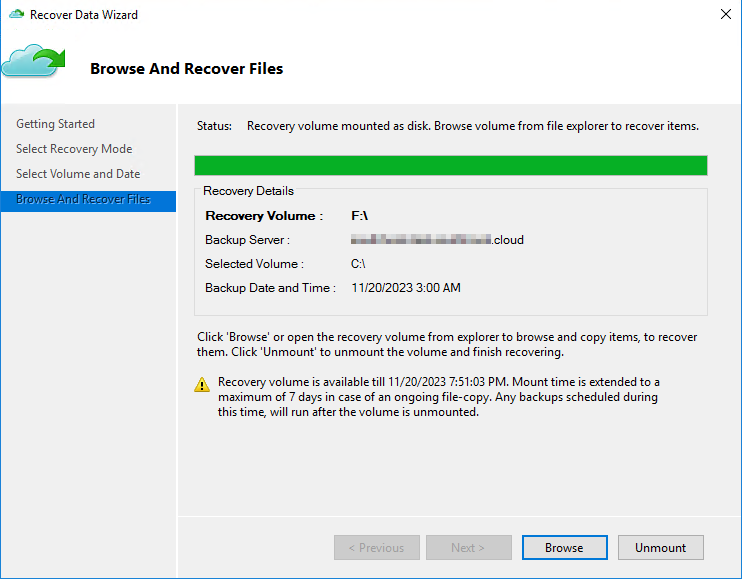
- Browse for files to be recovered. If you are recovering from the SQL server Backup folder, select it at this step (all the previous steps related to Azure backup can be omitted in this case).WarningDo not close the Recover Data Wizard when browsing.
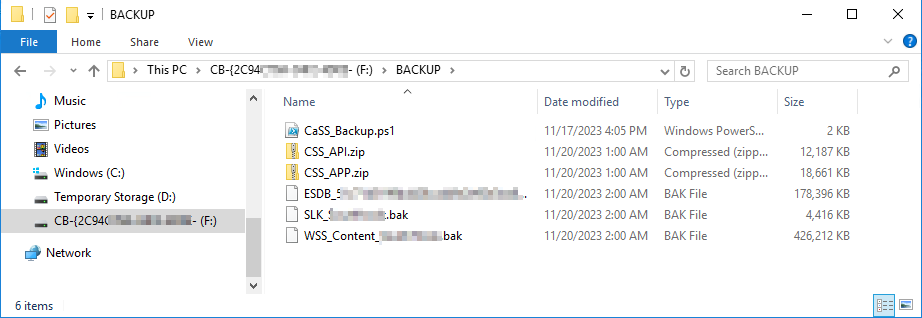
- Restore Candidate Self-Service folders to inetpub, create API and APP sites in IIS, check configuration files. Get back to Recover Data Wizard and click Unmount.
Your are done, and Candidate Self Service is restored from Azure backup.