All employee documents can be accessed at My Details > My Documents.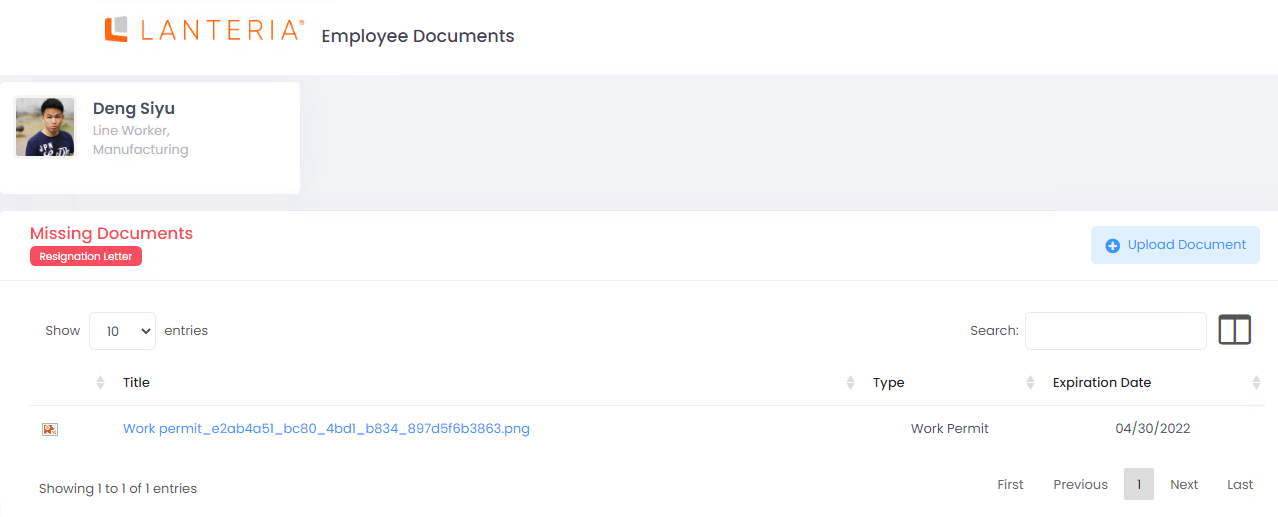
You can also open this page by clicking the Documents button on the employee card.
The Missing Documents section in the upper part of the page shows which documents necessary for current job position are missing. The missing documents can be uploaded.
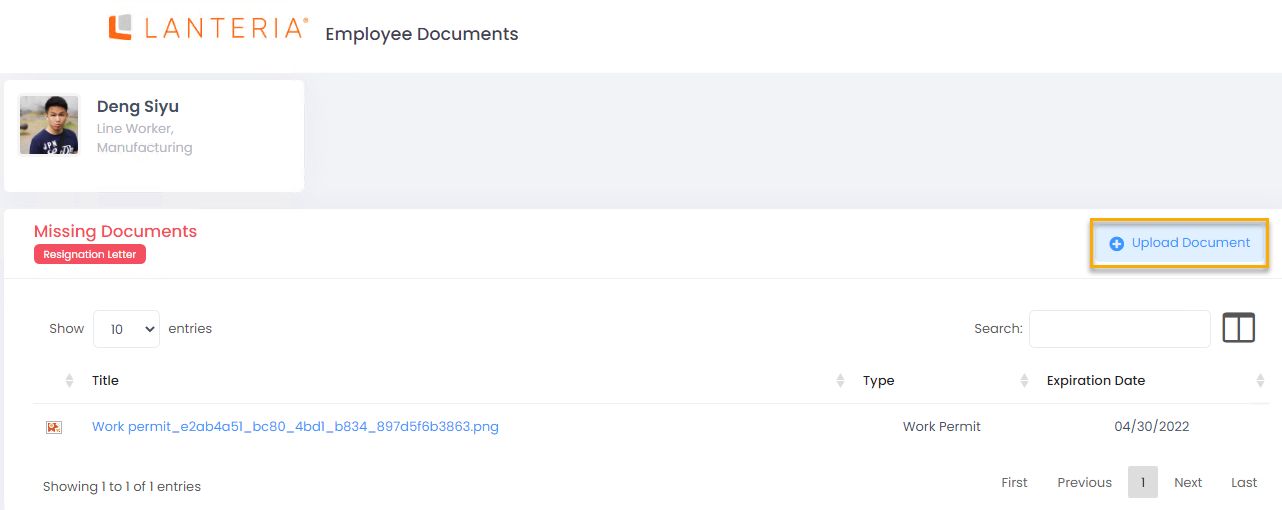
Follow these steps to upload a document:
- Go to My Details > My Documents and click the Upload Document button.
- The Upload Document dialog will appear.
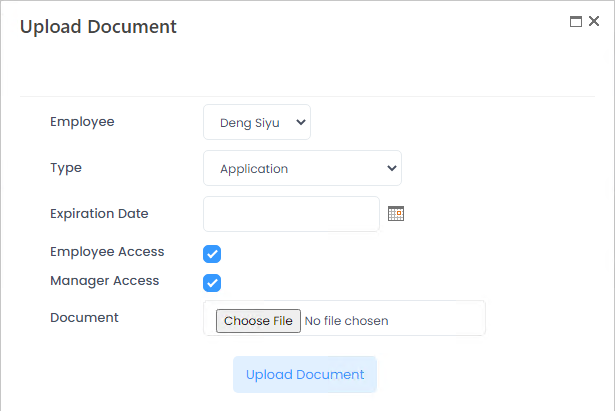
- The employee's name field is filled in automatically.
- Select the document type from the drop-down list in the Type field.
- Enter the document expiration date into the Expiration Date field, if necessary.
- Select the Employee Access check box if you the employee to be able to see the document.
- Select the Manager Access check box if you the employee's manager to be able to see the document.
- Locate the document to upload using the Browse button in the Document field.
- Click the Upload Document button. A new window is opened where you need to fill in the additional document properties.
.png)
- In the Content Type field, select the content type for the document. The content type defines the set of document properties that you can specify. You can verify and change if necessary the properties, based on information provided in the previous window, as well as specify additional properties.
- If you selected the Survey content type, the following properties can be specified/updated by default (you may have additional properties if they were configured for this content type):
- Name – Specifies the name of the file. By default, this field is filled in with the name of the file that has been uploaded.
- Title – Specifies the title of the document that will be displayed in Lanteria HR.
- Document Type – Specifies the type of the document. This property is optional and not available by default for this content type.
- Expiration Date – If the document has an expiration date, specify it in this field. This data will be used to track the expiring documents. By default, this date is filled in with the date provided in the previous window. This property is optional and not available by default for this content type.
- Employee Access – Specifies whether the employee will have be able to see this document. This setting is taken from the previous window – verify it and change it if necessary.
- Manager Access – Specifies whether the employee's manager will have be able to see this document. This setting is taken from the previous window – verify it and change it if necessary.
- If you selected the Form content type, the following properties can be specified/updated (you may have additional properties if they were configured for this content type):
.png)
- Name – Specifies the name of the file. By default, this field is filled in with the name of the file that has been uploaded.
- If you selected the Survey content type, the following properties can be specified/updated by default (you may have additional properties if they were configured for this content type):
- Click Save to save the document.