Candidate card sections can be created and managed with the help of Candidate Card Designer.
Follow these steps to manage sections and fields of candidate cards:
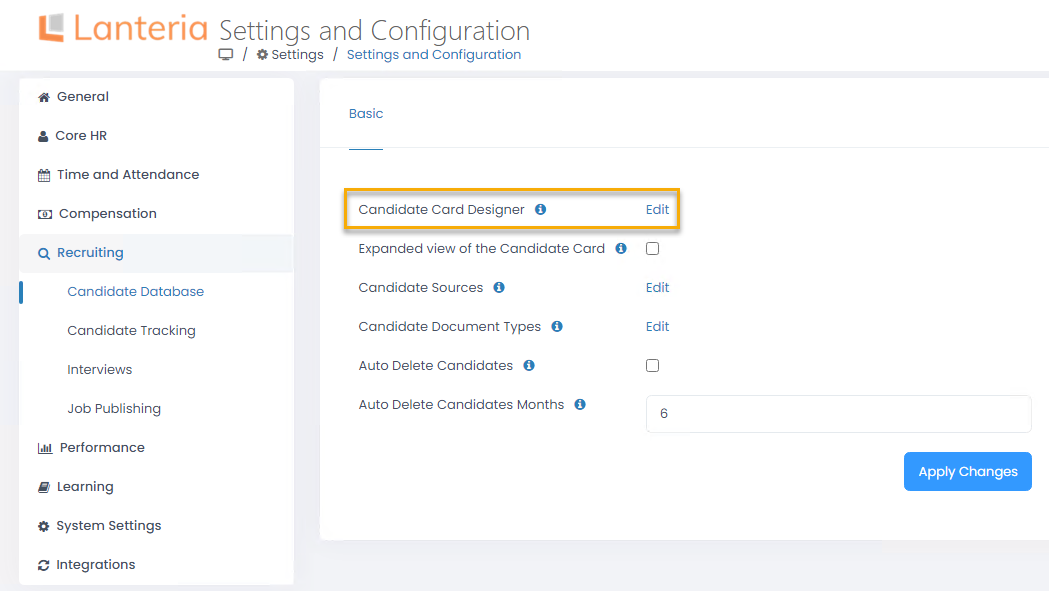
- Go to Settings > Settings and Configuration > Recruiting.
- Click Candidate Database in the left panel and click Edit next to the Candidate Card Designer setting name on the Basic tab.
- The Candidate Card Designer form will open with the list of predefined candidate card sections and fields. Here you can create new sections, edit and delete the existing ones as well as work with candidate card section fields and set up the candidate card section permissions.
.png)
Add New Section
Follow these steps to add a new section to the candidate card:
- Click the Add New Section button at the top of the form.
 This will open the Candidate Card Sections - New Item form.
.png)
- Type the name of the new section in the Title field.
- Set the order in which the sections will appear in the card in the Section Order field.
- Select who will be able to see the current section in the View Roles field.
- Select the roles that will have the permissions to edit the current section in the Edit Roles field.
- Click Save to save the changes.
Edit Candidate Card Section
Click Edit Section to edit an existing candidate card section.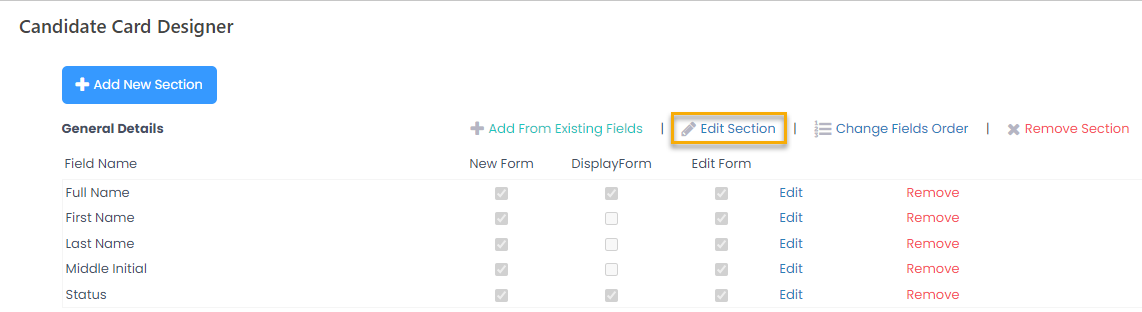
Delete Employee Card Section
Follow these steps to delete an employee card section:
- Click Remove Section in the header of the section you want to delete.
.png)
- In the dialog window that opens click OK to complete removal or Cancel to cancel the operation.
Working with Section Fields
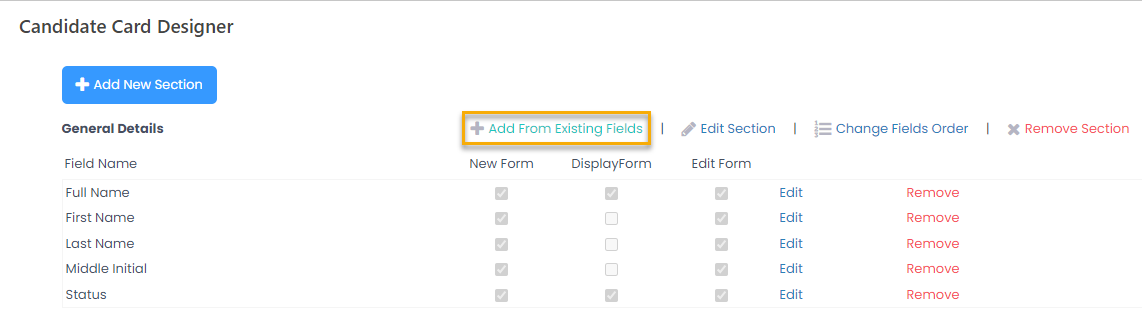
Follow these steps to add a field to an employee card section:
- Click the Add from Existing Fields next to the name of the section you want to add a field to.
- In the window that opens select the name of the field you are going to add from the Field Name drop-down list.
.png)
- Select the New check box if you need the field to display this field when creating a new candidate.
- Select the Display check box to display this field when viewing a candidate card.
- Select the Edit check box to display this field when editing an candidate card.
- Click OK to add the field to the candidate card section or Cancel to cancel the operation.
To edit a field, click Edit in the corresponding field row.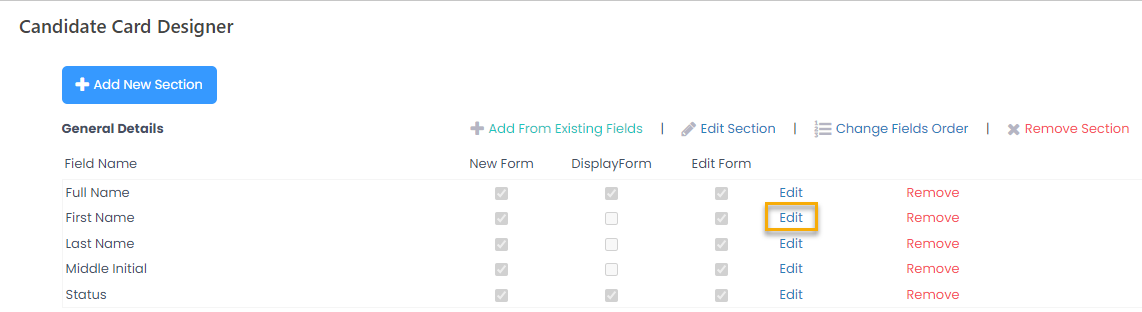
To delete a field, click Remove in the corresponding field row. The deleted fields will still be available for choosing in the Field Name field in the Add From Existing Fields dialog box.
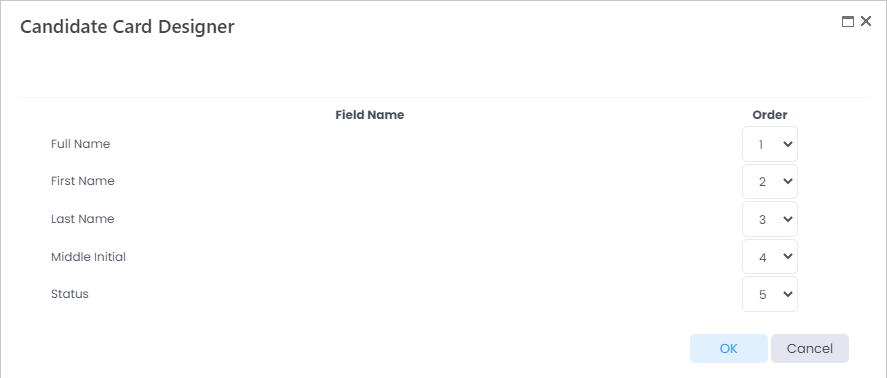
.png) To change the field order, click Change Fields Order next to the section name.
To change the field order, click Change Fields Order next to the section name.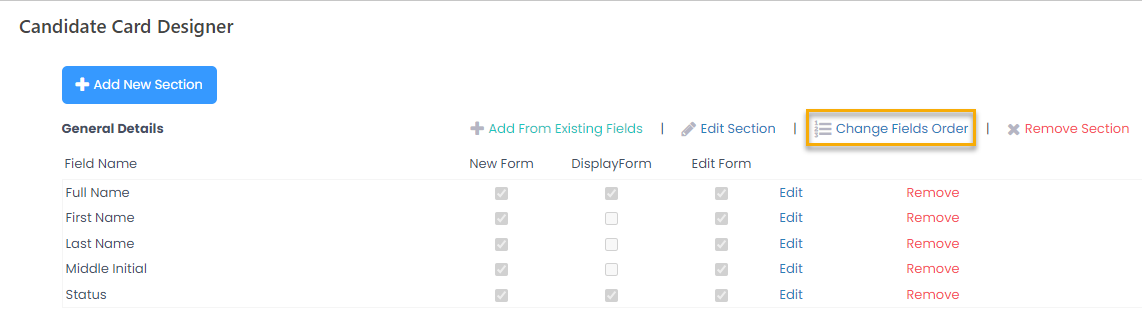
On the form that opens, use the Order column to set up the field sequence.