Custom Site Branding
- 22 Oct 2024
- 2 Minutes to read
- Print
- DarkLight
Custom Site Branding
- Updated on 22 Oct 2024
- 2 Minutes to read
- Print
- DarkLight
Article summary
Did you find this summary helpful?
Thank you for your feedback!
You can customize your Lanteria HR site to display your logo and correspond to your corporate colors.
Insert Your Logo
There are two ways to insert your logo to the Lanteria HR site - from your PC directly or upload it to the Site Assets library first. It is recommended that the logo file should be in the .png format and of the size about 100х80px or 120х100px. Maximum width may be up to 250px, depending on your logo style. The less details logo has, the bigger width is possible.
Upload from Your PC
Follow these steps to upload a logo file from your computer:
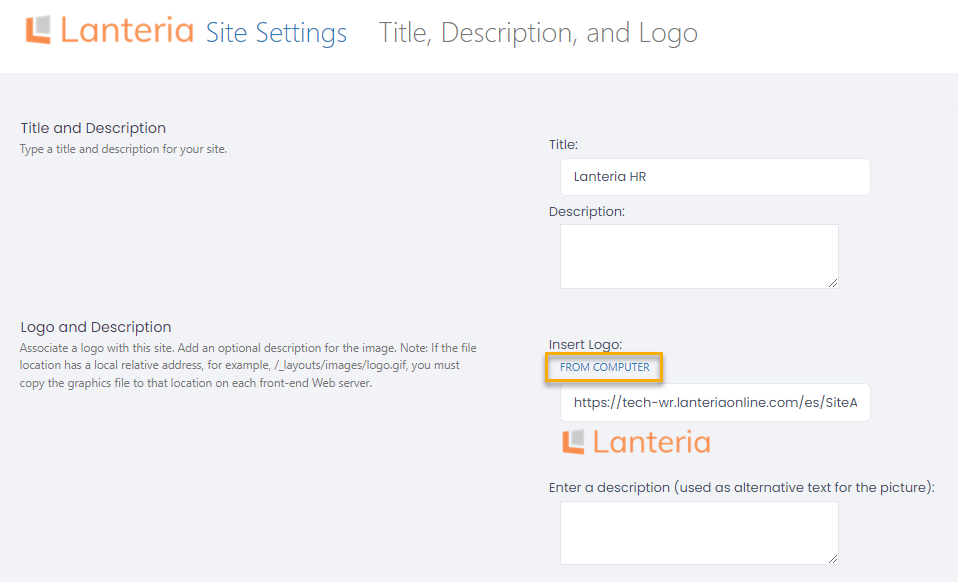
- Go to Settings > SharePoint Settings and under Look and Feel, click Title, description, and logo.

- On the page that opens, click FROM COMPUTER.
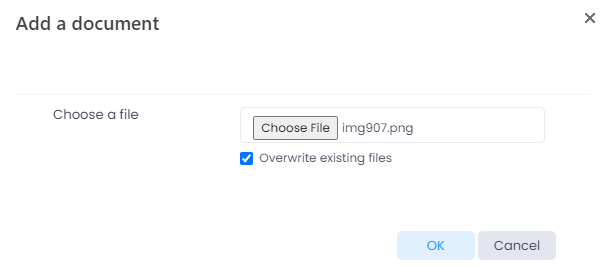
- Click Choose File and select a file to be uploaded. Click OK.
Upload from Site Assets
In this case, you upload the logo to the Site Assets folder first and then specify the path to the uploaded file on the Title, description and logo page.
- In your Internet browser, type in your Lanteria HR site address and then "es/SiteAssets/Forms/AllItems.aspx".
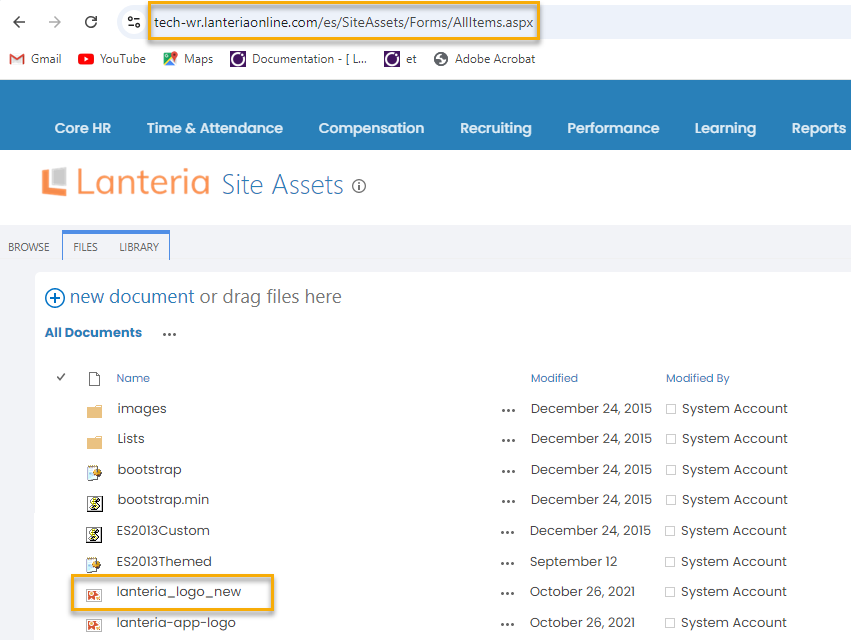
- Click new documents, choose file and click OK.
- Go to Settings > SharePoint Settings and under Look and Feel, click Title, description, and logo.
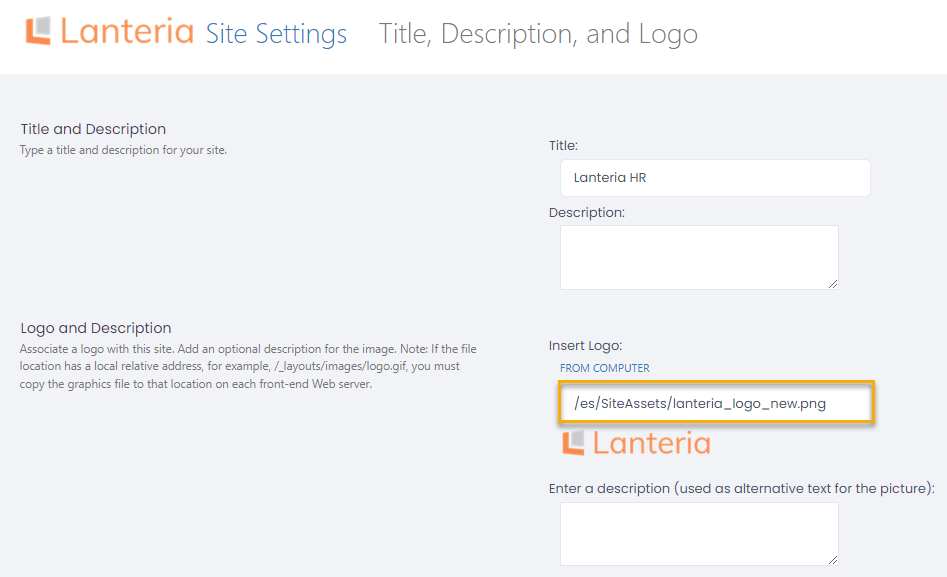
- Specify the path to your logo file under Insert Logo.
Change Lanteria HR Coloring Scheme
To change the site coloring scheme, follow the steps below:
- Go to Settings > Settings and Configuration > General and then Company Settings.
- On the Development tab, locate the Base Color setting.
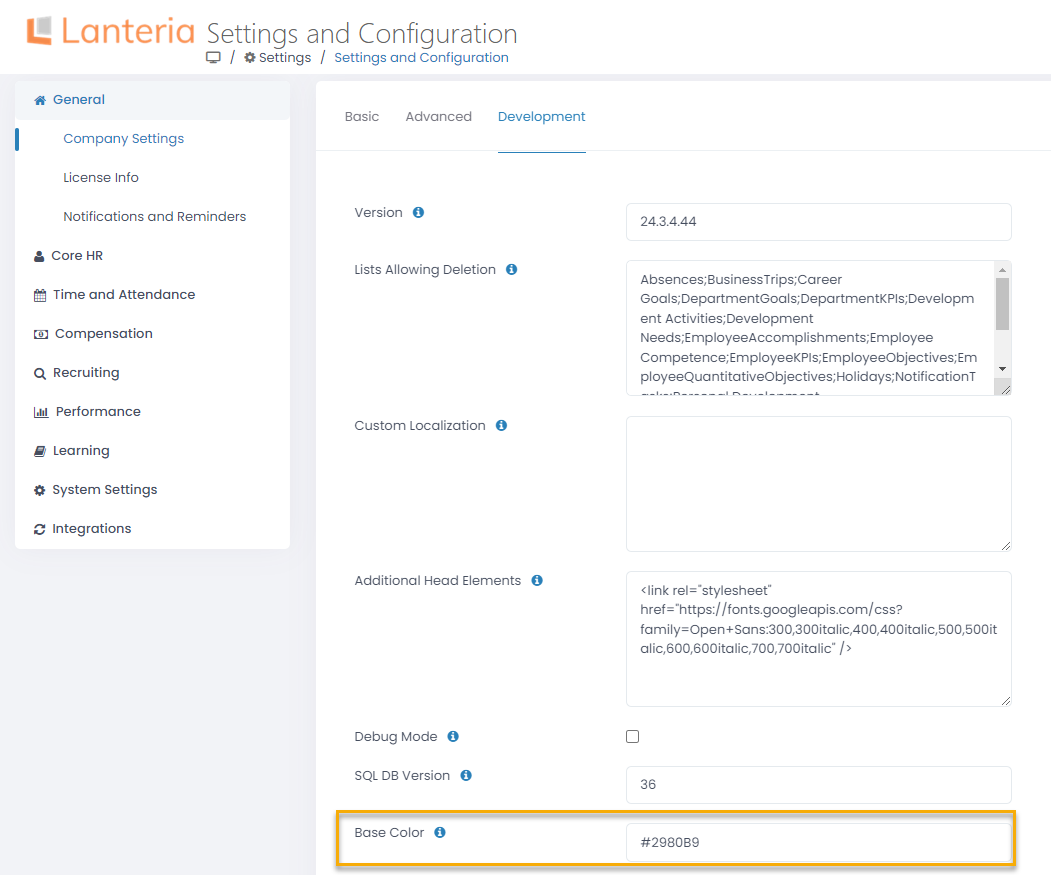
- Specify the color in the HEX format. Use any of the available online converters to convert RGB into HEX or learn which HEX code corresponds to your brand color.
- Click Apply Changes. The color will be applied to the main menu pane, as well as menu links.
Change Coloring Scheme for Candidate Self-Service
To change colors for the Candidate Self-Service site, the .css file must be modified on the site where the site is installed. Follow these steps:
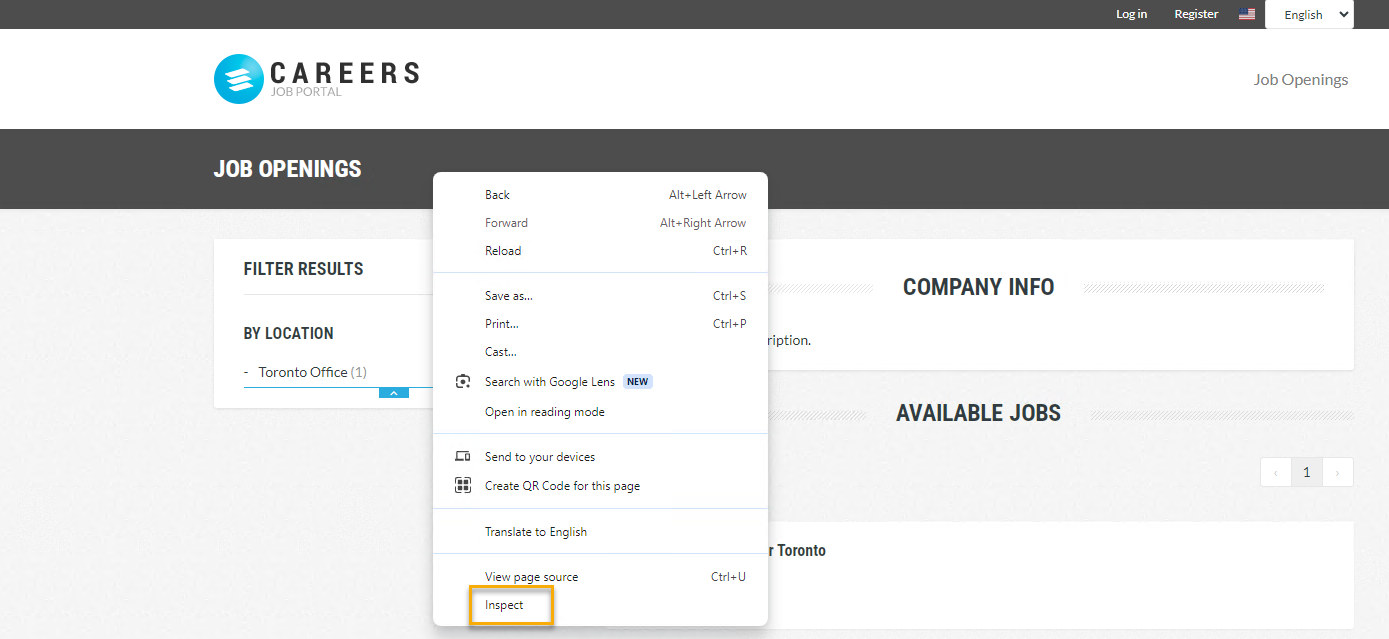
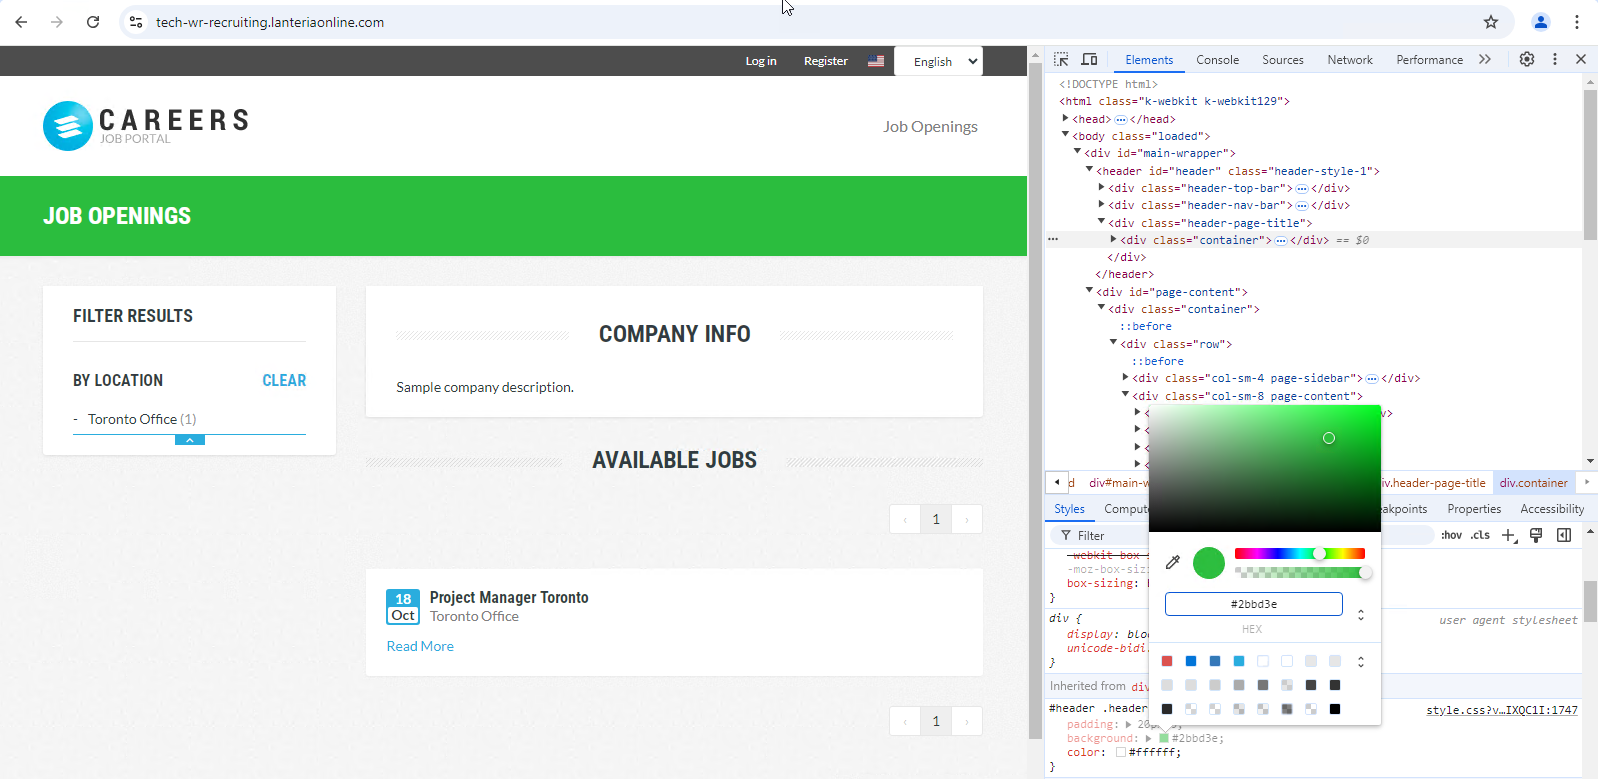
- First of all, define what will be changed. Open your Candidate Self-Service site.
- Next, right-click the page and then click Inspect.
- Click the arrow icon and select the part of the page whose color will be changed.
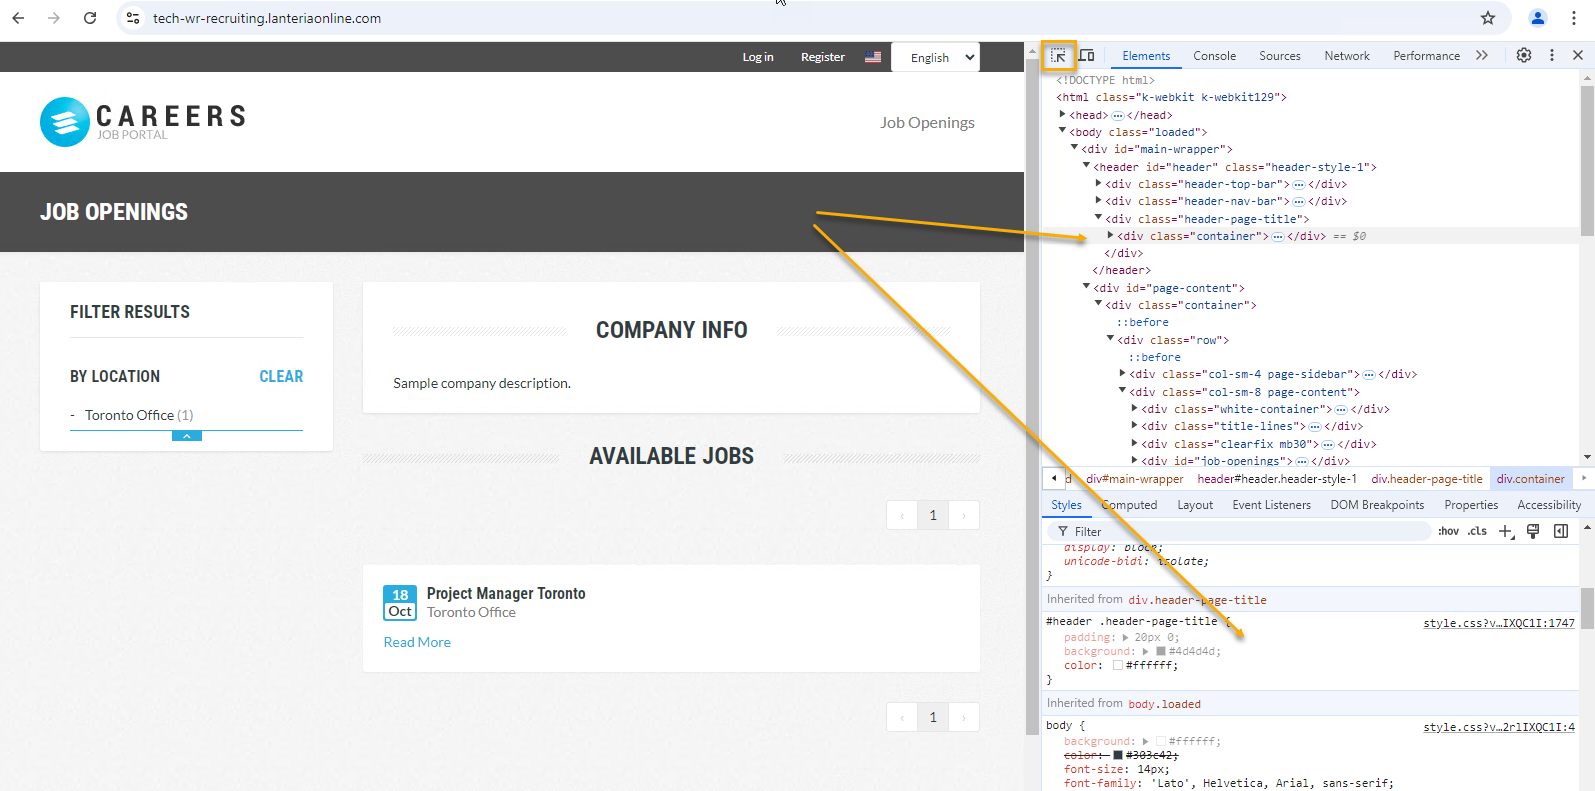
- Click the color icon and select the desired color.
- Next, this color change must be recorded in the .css file to be applied to the site. Right-click the changed code and click Copy rule.
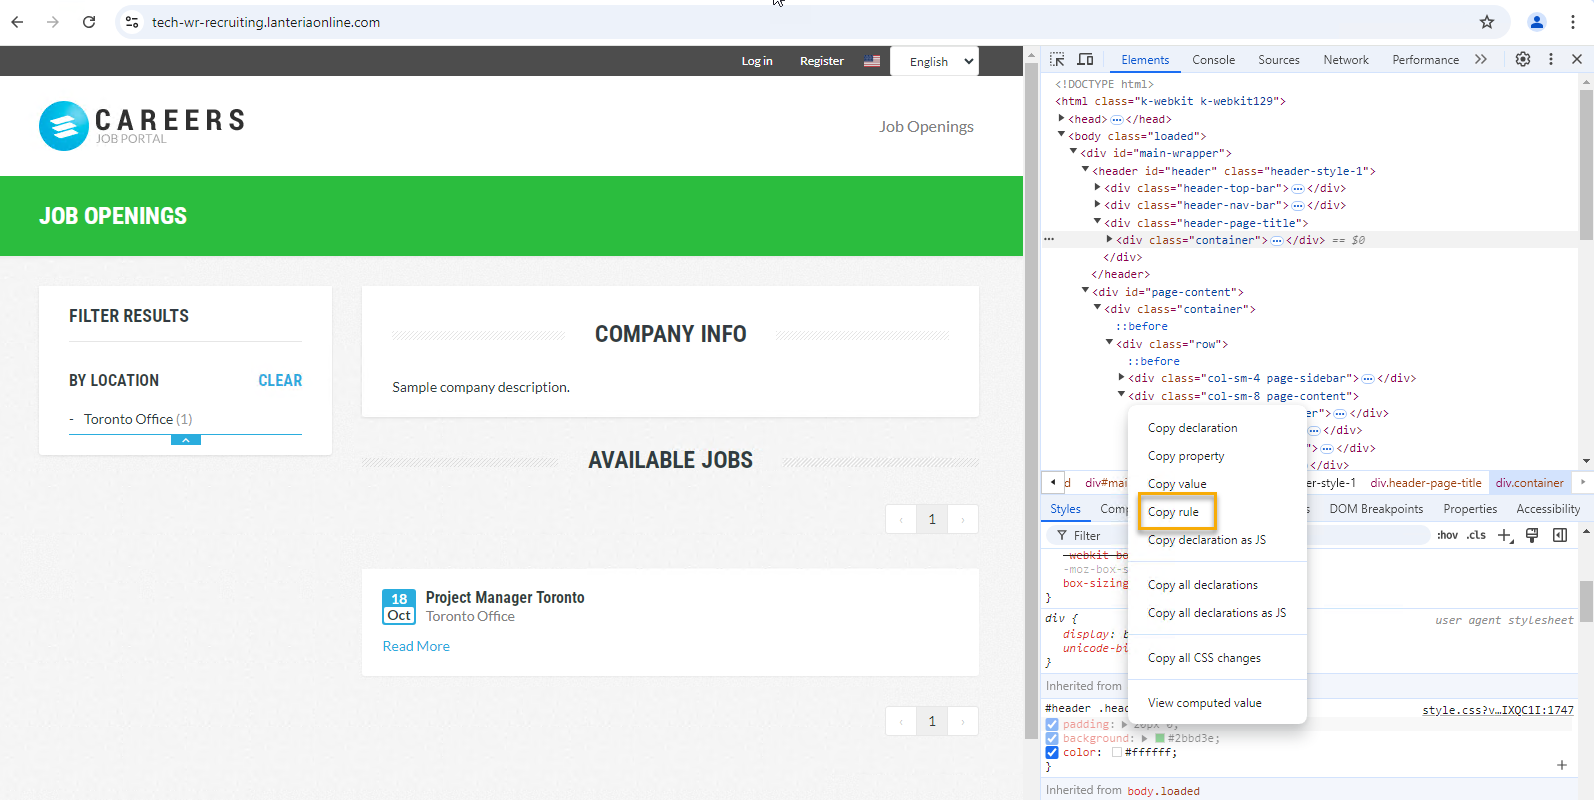
The following code will be copied.
#header .header-page-title {
padding: 20px 0;
background: #2bbd3e;
color: #ffffff
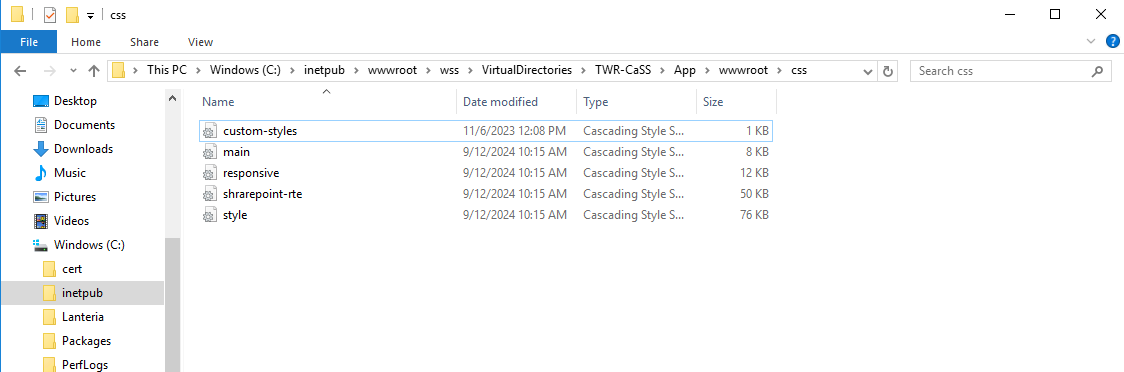
} - Locate the custom-styles.css file where all the custom site changes are stored. On the server where the Candidate Self-Service is installed, locate the APP folder and then the wwwroot/css/custom-styles.css file.
- Open the file with any .txt editor. If the file is empty, just paste your code. If another custom color is already there for your element, replace this piece of code.
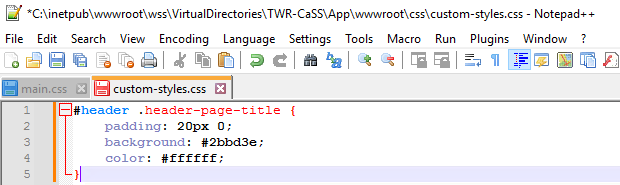
- Save the changes.
Was this article helpful?