Go to Settings > Settings and Configuration > System Settings > Roles and Permissions and click Edit next to Local HRs setting name. .png)
You can create a new local HR directly in the spreadsheet view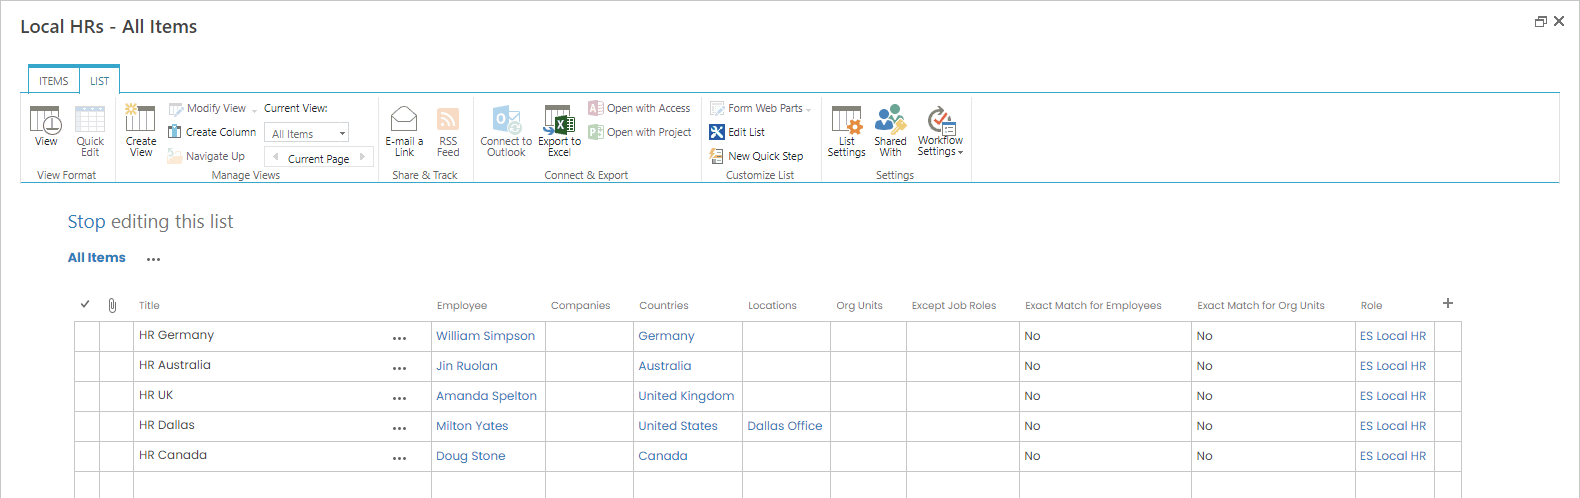 or use the new item button and fill in the form that appears.
.png)
- Enter the name of the area under the local HR's responsibility into the Title field.
- Select the employee who will perform the role from the drop-down list in the Employee field.
- The Companies, Countries, Locations and Org Units fields act as filters for initial selection of employees whom this local HR will manage. If all these fields are left blank, all employees will be selected.
- Select the necessary job roles in the Except Job Roles field to exclude certain job roles from selection. Please note that this filter cannot be applied if all initial filters (Companies, Countries, Locations, Org Units) are left blank.
- Select the Exact Match for Employees check box if you need to grant Local HR access only to employees who fit all the criteria. If the box is cleared, all employees who meet at least one criterion will be included into selection. This setting will be applied when the employees or employee information is to be displayed to Local HR (Employee Chart, employee absences and so on).
- Select the Exact Match for Org Units check box if you need to grant Local HR access only to org units that fit all the criteria. If the box is cleared, all the org units that meet at least one criterion will be included into selection. This setting will be applied when the org units or org unit information is to be displayed to the Local HR (Org Structure, org unit goals, and so on).
- Select the necessary Lanteria HR functional role from the drop-down list in the Role field. It can also be used if you need specific restrictions on access to system modules for local custom roles, such as Local Training Manager, Local Recruiting Manager, etc.
After a new local HR has been created, the role will automatically become available either immediately or after the corresponding system job runs, depending on the Sync LocalHR Employees setting. .png)
To view or change the Local HR Employees synchronization mode, go to Settings > Settings and Configuration > General > Company Settings and see the Sync LocalHR Employees setting on the Development tab..png) If it is set to Immediately, then the data is synchronized runtime and the role becomes available to the employee right after creation, if it is set to Scheduled, then the synchronization is done by a system job and you either have to wait for it to run or run it manually from Settings > Settings and Configuration > System Settings > System Jobs.
If it is set to Immediately, then the data is synchronized runtime and the role becomes available to the employee right after creation, if it is set to Scheduled, then the synchronization is done by a system job and you either have to wait for it to run or run it manually from Settings > Settings and Configuration > System Settings > System Jobs.
To change the local HR synchronization mode, select the necessary option and click the Apply Changes button.
You can adapt the system modules, menu sections and menu items that the local HR can access to your specific needs by using Permissions Editor, Menu Sections and Menu Items settings.