All the actions available for menu sections, such as renaming, hiding, changing the item order, and permissions, can be performed at the menu item level.
Follow these steps to edit menu items:
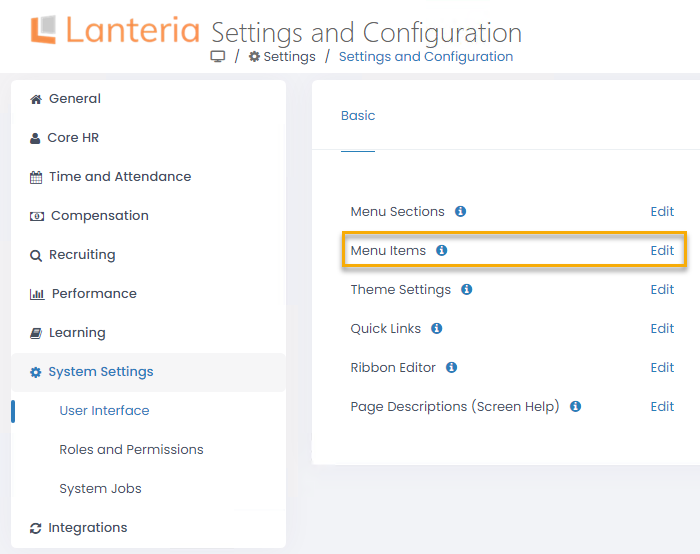
- Click Settings > Settings and Configuration.
- Select System Settings > User Interface in the menu panel on the left.
- Click the Edit link next to Menu Items on the Basic tab to manage menu items.
- The Menu Items list will open in datasheet view where you can easily modify all the necessary information.
.png)
- To modify the menu item URL click inside the cell in the URL column and then the Open hyperlink editor button that appears. Enter the menu item page address and its short description into the Address and Display text fields respectively.
.png)
- Type any notes to the menu item in the Notes column. The notes will be visible only while editing the item.
- Specify the menu section the menu item belongs to in the Section column.
- Use the Item Order column to manage the order in which menu items appear inside the section.
- Select No or Yes from the drop-down list in the Is Active column to hide/display the menu item.
- The Delimiter column was preserved for compatibility with the older versions where it indicated whether the current menu item is a delimiter separating menu items inside the section.
- Select Yes from the drop-down list in the Launching Dialog column if you want the current menu item to appear in a dialog displaying the menu item contents instead of opening a new page.
- Select the check boxes corresponding to the roles that will see this menu item in the drop-down list in the ES Roles column.WarningPlease note that when you select role, you only specify whether the menu sections are visible to the users with this role, but you do not restrict their access to the section pages. This means that anyone who knows the URL of a section page can access it. To restrict access, use Settings > Settings and Configuration > System Settings > Roles and Permissions.
- Specify the module the menu item belongs to in the Module column. This menu item will be visible only to the employees who have access to this module.
- If the current menu item is to appear as the third-level menu item, select the second-level menu item in the Parent Menu Item column. For example, for the Vacations menu item that appears under Time and Attendance > Absence Lists > Vacations, select Absence Lists as the parent menu item.
- Use the Hide for Users field to select specific users or SharePoint groups for which the current menu item will not be visible. This field is applicable when setting up custom Lanteria HR roles. NotePlease note that it is used only to hide the menu item from the menu visible to the user. To protect the pages, use the Permissions Editor (Settings > Settings and Configuration > System Settings, click Roles and Permissions).
- Click Stop editing this list to exit the spreadsheet view.