Set up the candidate statuses dictionary to keep track of the candidates' move through the recruiting process.
Follow these steps to create candidate statuses:
- Go to Settings > Settings and Configuration > Recruiting.
- Click Candidate Tracking in the left panel and click Edit next to the Candidate Statuses setting name on the Basic tab.
.png)
- The Candidate Statuses list will open in spreadsheet view where you can directly edit the information you need.
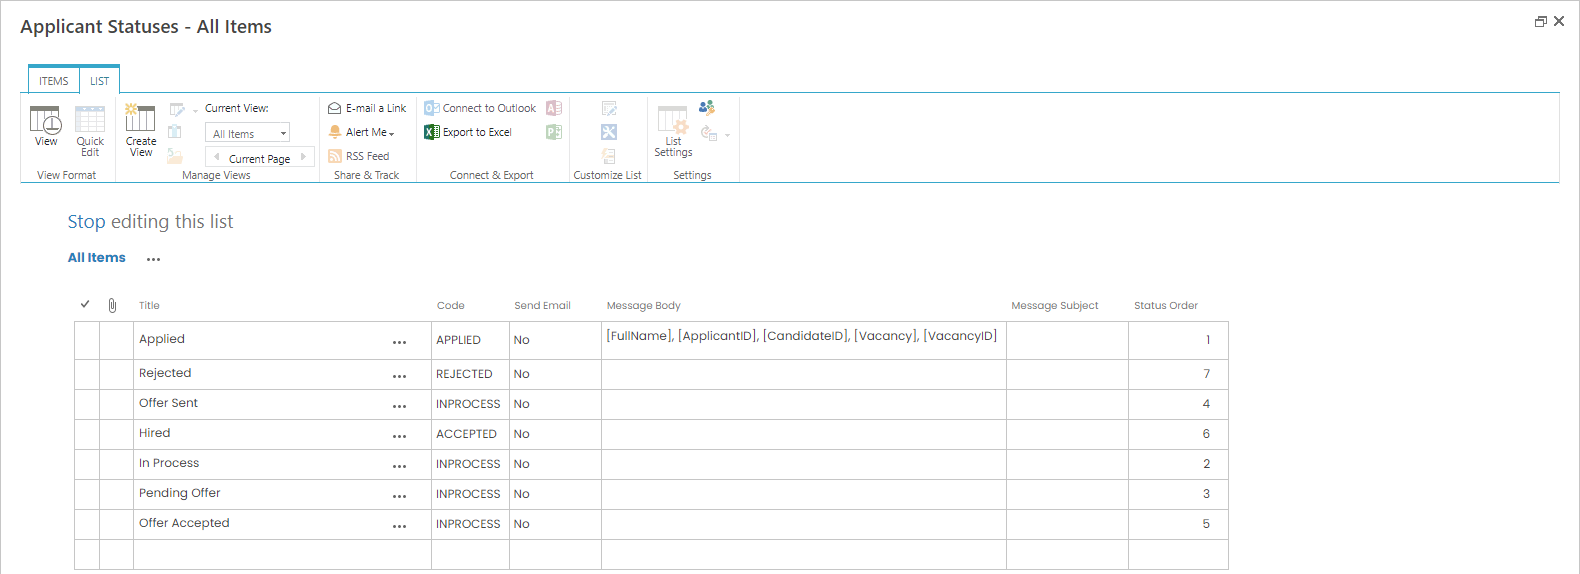
- Enter the candidate status name into the Title column.
- Assign a code to the newly created status in the Code column. Use one of the following: APPLIED, INPROCESS, ACCEPTED, REJECTED.
- Select Yes in the Send Email column if you want the system to send a notification letter when the candidate's status is changed to this status.
- If the letter is to be sent upon the status change, enter the message body template into the Message Body column. You can use the following fields to substitute candidate's data while generating a message: [FullName], [ApplicantID], [CandidateID], [Vacancy], [VacancyID].NoteVacancy and VacancyID are internal names of the Job Opening and Job Opening ID fields.
- If the letter is to be sent upon the status change, enter the message subject into the Message Subject column.
- Enter the index number into the Status Order column. This will determine the order in which statuses will be displayed on Candidate Dashboard.