To create a dynamic absence type, do the following:
- Create a new absence type with the Absence Types Manager
- Create subtypes for the new absence type and select the highlight color
- Check and edit, if necessary, the default approval workflow for the new absence type
Create Custom Absence
- Open the Time & Attendance menu section, select Absence Types Manager.
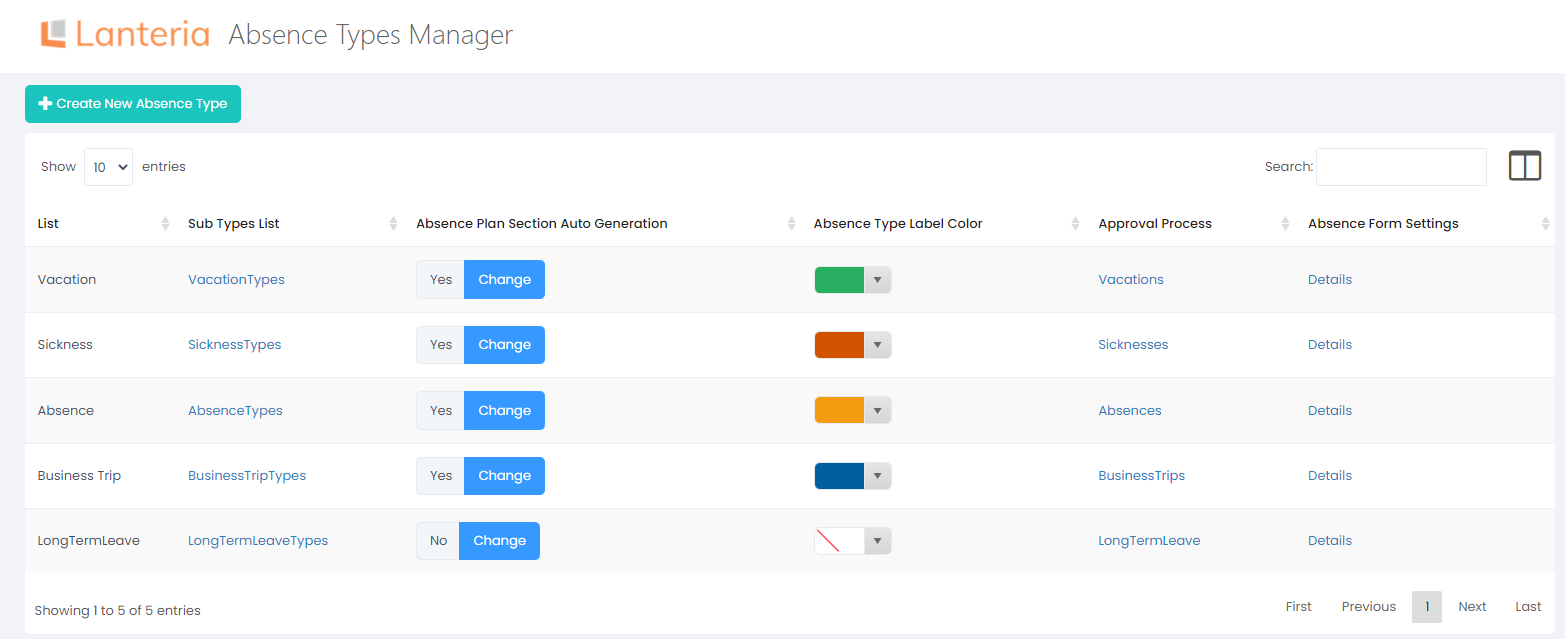
- When you open the Absence Types Manager, you will see the standard absence types available in the system:
.png)
- To create a new custom absence type, click Create New Absence Type and fill out the form:
- Add title of the new absence type to Absence List Name field. When you initially create the title, don’t use space, numbers or any other signs.
- Select Auto Generate AP Section if you want this absence type to be included to all your absence plans by default. Select Yes for it to be automatically added as a section to the absence plan. Select No to have a choice to add the section with the new absence to specific absence plans.
.png)
Settings for the Dynamic Absence Type
When the system creates a new absence type it also creates a new absence list and a default approval workflow.
Settings for the new absence type should be done on the Absence Types Manager page as follows:
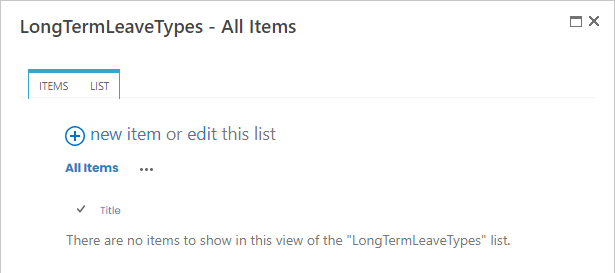
- Open the link for the Subtypes list to create subtypes for new custom absence.
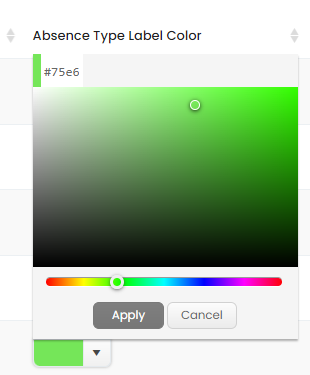
- Open Absence Type Label Color to select the color for the new absence type highlighting.
- Open the Approval Process for the new absence type. By default, the system creates one-step approval workflow with the responsible = Manager. You can modify this workflow by changing the Approval Workflow.

- If you have several subtypes for this absence type, you can create an additional approval workflow and assign it to the relevant subtype. The workflow is created on the Approval Process Settings page and then assigned to the absence subtype on the custom absence type list.

- If you need to rename the new absence type, you need to find the list in Settings > Site Lists and Libraries and rename it from the List Settings.
- With the help of the Absence Form Settings you can specify the fields which are visible or hidden for the users when the Absence Request is created. To make such settings, click Details for the Absence Form Settings.
- If the form used for requesting the absences of the new type is to contain the Acting Person field, create it manually. Open the es/Lists/Absences/AllItems.aspx list and in the List Settings click Create Column. Select ES2013 Acting Person Picker as type of information for this column.
Extra Time Off
For the end users to request extra time off which would to be added to the dynamic absence type allowance, HR Admin needs to add new Allowance Type = Custom Absence Type to the Extra Time Off list.
To do this, please go to Time & Attendance – Absence Lists – Extra Time Off. Then select the Allowance Type field in List Settings, and add a new option to the existing choice. The title of the new allowance type should be the same as the internal name of the dynamic absence type list.