To create a new candidate, follow these steps:
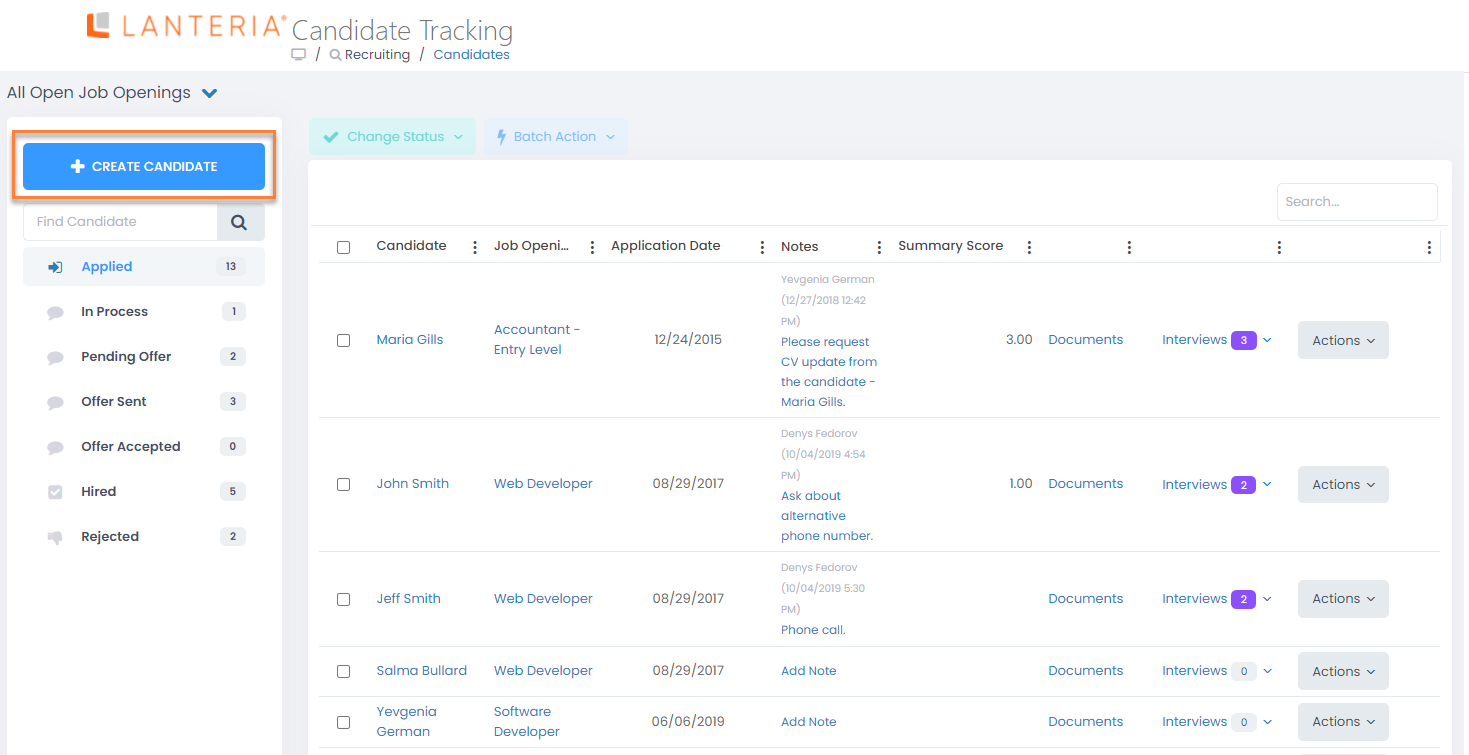
- Go to Recruiting > Candidates > Candidates.
- On the Candidate Tracking page, click Create Candidate.
- On the Create Candidate form, specify the candidate’s full name, first name, and last name in the corresponding fields.
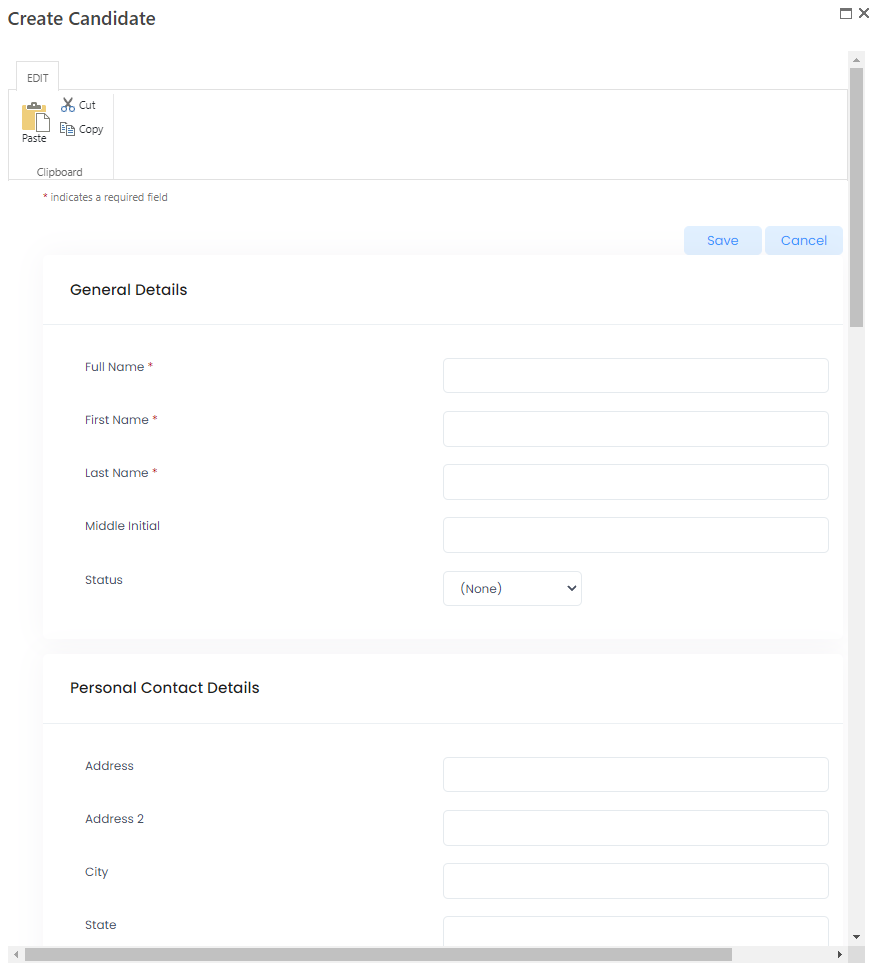
- Provide the contact details like personal email, phone numbers and address. Specifying a phone number is mandatory.Note
If a new employee is created from a candidate in the future, contact information (address, phone number, personal email) of the candidate automatically becomes contact information of the created employee unless specified otherwise.
- Optionally, in the Gender field, specify the candidate's gender.
- In the Ethnicity field, select the ethnic group the candidate belongs to.
- In the Disability Status field, specify whether the candidate has a disability status or choose to not disclose this information.
- In the Protected Veteran Status field, specify whether the candidate is a protected veteran or choose to not disclose this information.
- Optionally, use the Candidate Source field to indicate where the candidate information has been obtained from. The candidate sources should be previously created in the Candidate Sources list.
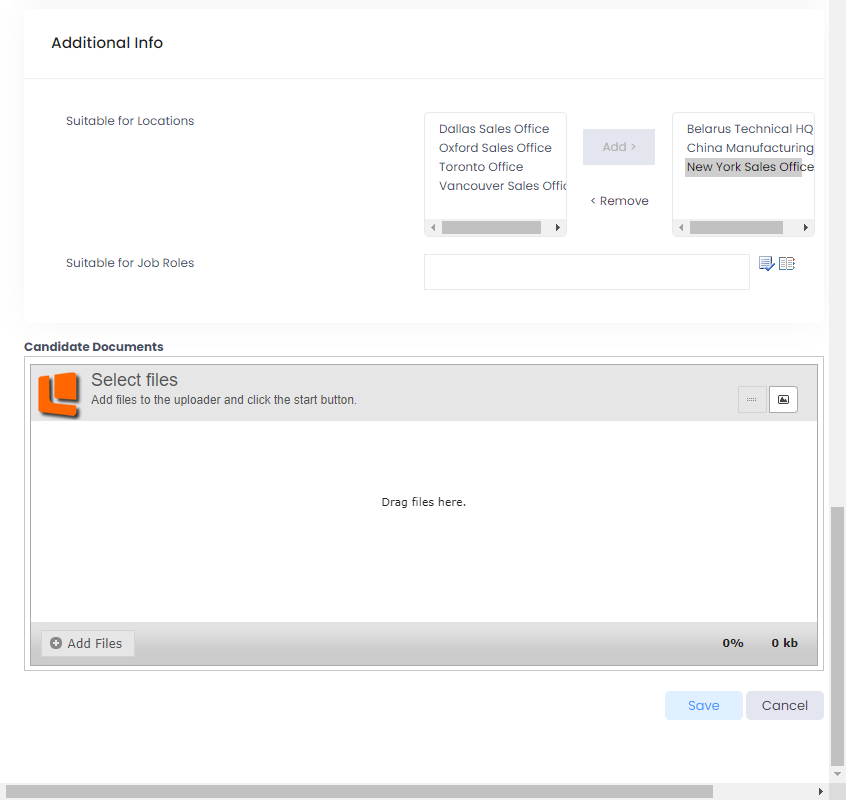
- Optionally, specify more details about the candidate if available, such as personal contact details, employment eligibility, desired salary, the date when the candidate will be available to start working, willingness to travel and to relocate, person who recommends this candidate, locations as well as job roles suitable for this candidate, etc.NoteCustom and hidden fields can be created or viewed by altering the list settings.
- Optionally, add candidate documents. Use the Add Files button or drag document files into the Candidate Documents pane. Candidate documents can be added and managed later.
- Click Save to save the provided information and create a candidate. The following dialog window appears where you can immediately have this candidate apply for a job opening with the required candidate status.
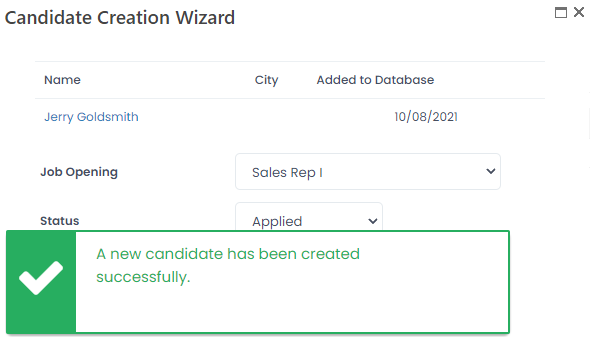
- If you want this candidate to apply for a job opening, fill in the fields in the Candidate Creation Wizard dialog window as described below, and then click Apply for Job Opening. Otherwise, click Cancel (the candidate will still be created and added to the candidate database).
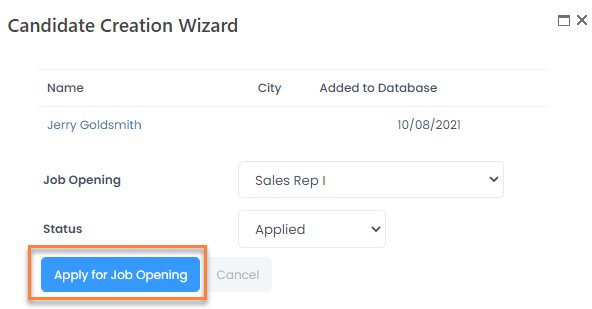
- Job Opening – Select a job opening for the created candidate to apply to.
- Status – Select the status that will be assigned to this candidate:
- Applied – The candidate has applied for the job opening. No interviews conducted yet.
- In Process – The job interviews are in progress with this candidate.
- Offer Sent – A job offer has already been sent.
- Hired – The candidate has accepted the job offer and has been hired.
- Rejected – The candidate has been rejected as unsuitable for this job opening.